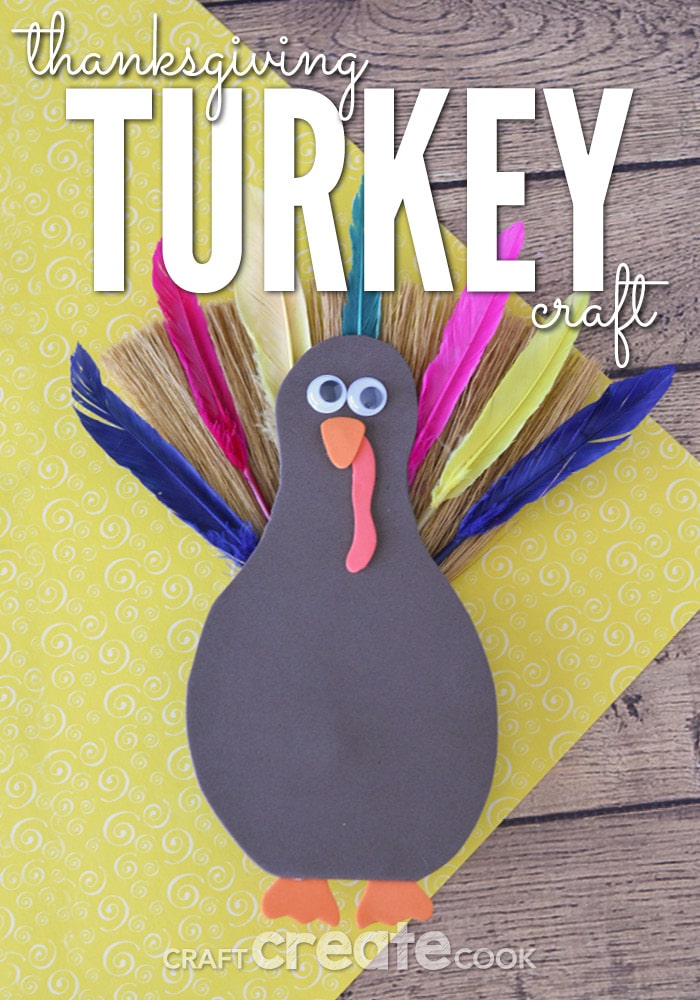
This Thanksgiving turkey craft is easy to make and looks great in your home.
I stumbled upon this super cute craft broom at a thrift store and I knew I had to make something fun out of it. After much thought, I realized my Thanksgiving decorations were sparse and a cute turkey was in order. This is a small turkey, but if you can find a larger broom, I'm sure you can make something super cute for your front door!
Thanksgiving is such a fun time to reflect on friends and family and celebrate being thankful for everything you have (or don't have) in life. I also love that it incorporates all of the fall colors - oranges, browns, yellows and that the turkey is the focal point of the meal. I think turkeys are cute, real or cartoon, not to mention tasty, so this one surely makes me smile.
How to make a Thanksgiving Turkey Craft
You'll need these supplies:
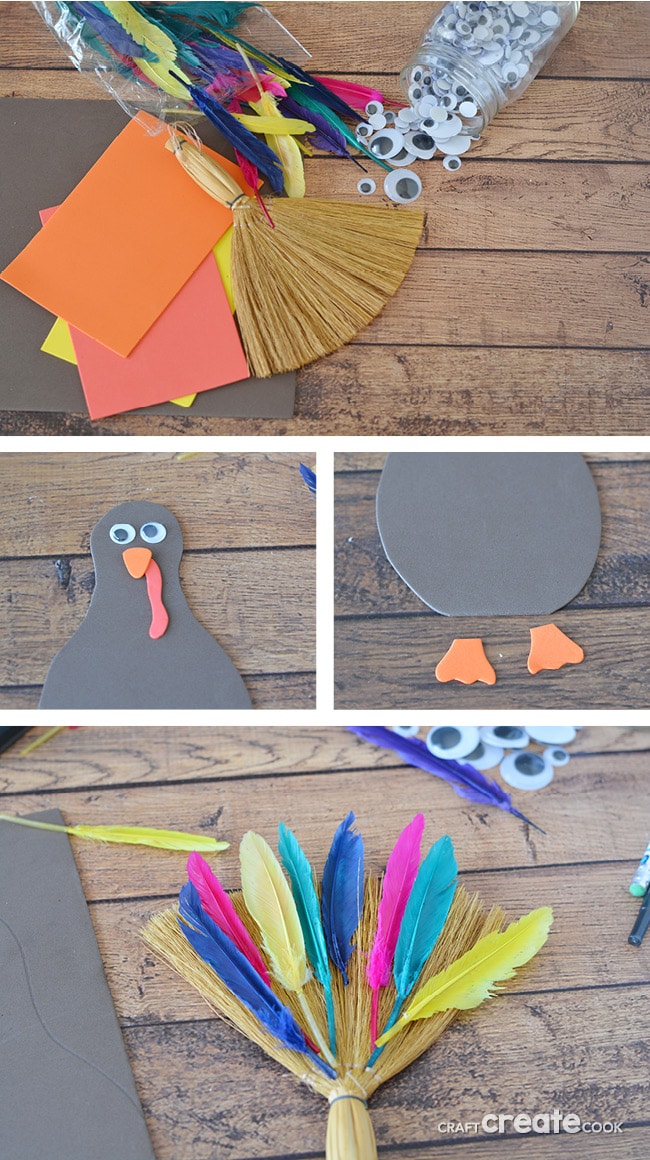
- Small Craft Broom (mine was about 7")
- 1 each of Brown, Red, and Orange Foam Sheet
- Feathers
- Hot Glue Gun
- Scissors
- Google Eyes
- Cut a turkey out of brown foam. If you're hesitant to just begin cutting, first make a pattern on paper. Cut out the pattern and trace it onto the brown foam. The easiest way to make a symmetrical pattern is to cut fold a piece of paper in half and draw half of a turkey. Open it up and you'll have a full turkey (Kind of like making paper hearts as a kid!) My finished turkey was about 7" tall.
- Cut out a beak, red gobbler (I know that's not what it's really called, but that's what I call it!) and feet. Attach with hot glue. Add eyes with hot glue.
- Lay the feathers onto the broom and then lay your turkey onto the features. Make sure you like the look of your turkey before attaching the feathers with hot glue.
- Attach the turkey body to the broom with hot glue and display!
And if you had fun making this turkey, you'll want to make a few other decorations for fall!

Leave a Reply