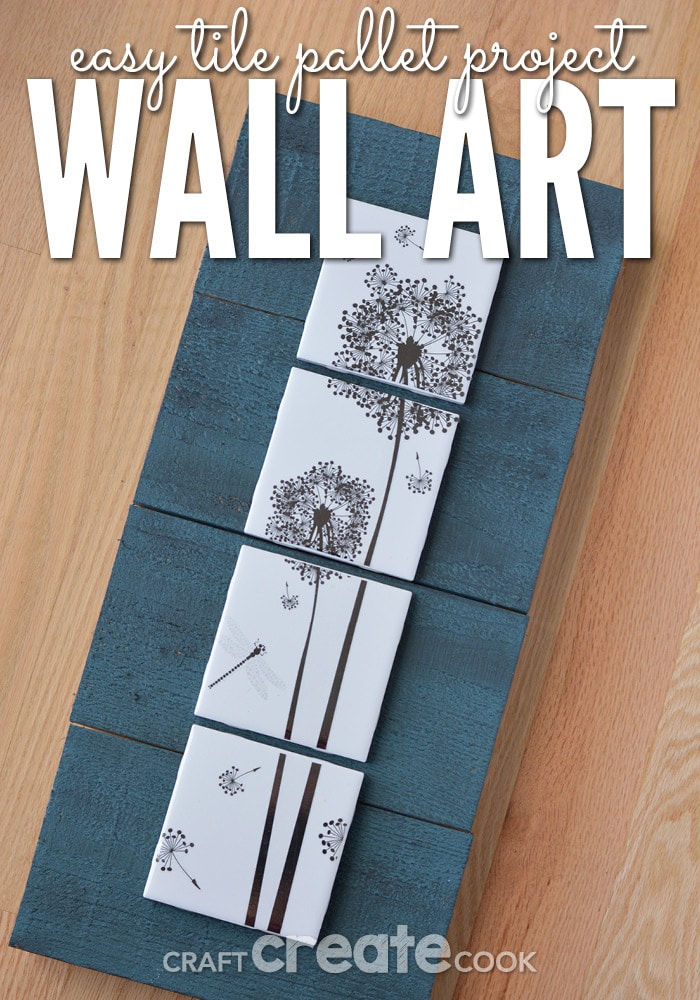
Pallet projects are very easy and this DIY wall art uses just a handful of materials and you'll be admiring your creation in no time!
The pallet trend is nothing new. From wine bottle holders to entire walls adorned with pallet wood, everyone loves pallets, including me. One of the main highlights of pallet wood is that it's usually free, but the other lure is the weathered look you can sometimes find with pallet wood. If you're curious as to where to begin with your pallets, check out my Pallet Project 101 information and you'll be on your way to creating amazing projects in no time.
For the board you'll need:
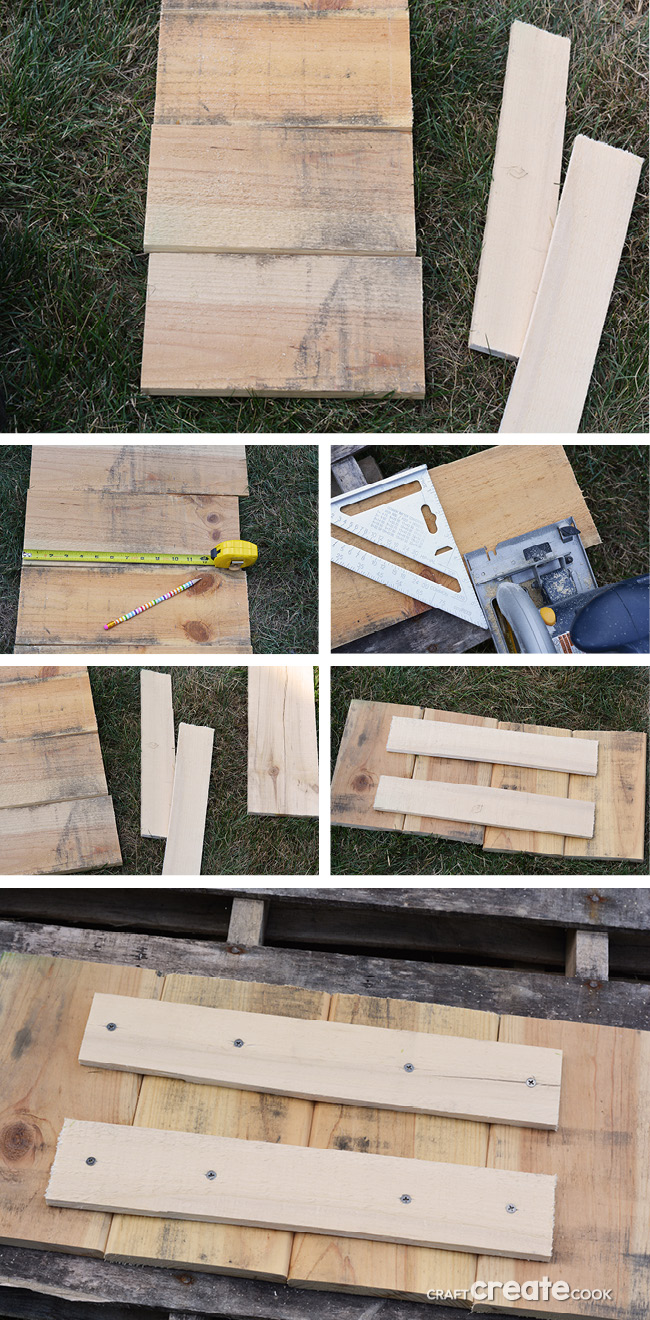
- 4 pieces of pallet wood, 10" x 5.5"
- 2 pieces of pallet wood (for the back) about 15" x 2.5"
- wood screws
- sand paper
After I cut my pallet wood for this project, I cut 4 pieces to 10" x 5.5" using the method in my pallet cutting tutorial. I then used two separate longer pieces of pallet wood (that had actually broken in half when I cut the pallet) and screwed them onto the back of the four boards to hold them together. Just be careful when you use wood screws they are not too long and go through to the front of the pallet wood. Now you have the base of your project ready! Sand off any rough edges with sand paper and let's get painting!
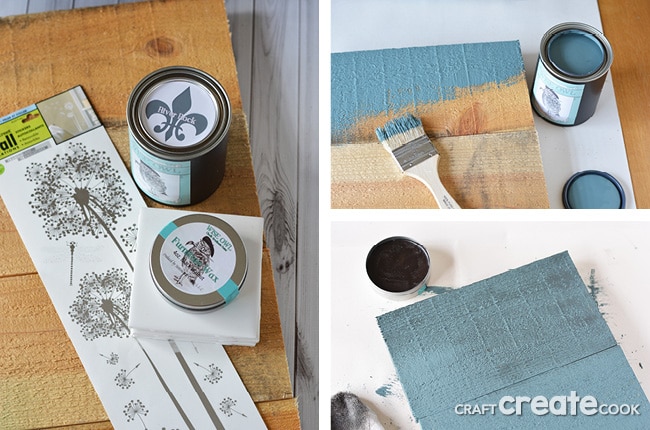
Grab these items to paint and wax your piece:
- Inexpensive Paint Brush - due to the wood being rough
- Wise Owl Chalk Synthesis Paint in River Rock
- Wise Owl Chalk Synthesis Paint Natural Furniture Wax in Black Walnut
- old tee shirt or sock
Use the inexpensive brush to paint your board with the gorgeous river rock color. This color is almost like a cornflower blue but modernized to fit today's color scheme. It's gorgeous, did I say that already? I let my paint dry overnight before I applied my wax.
And what can I say about this wax, it's also GORGEOUS! The black creates so much dimension with the rough pallet wood, I was drooling over it! I applied it with an old sock and it worked so-so. The sock was falling apart with the rough wood so I switched to an old tee shirt and that worked much better! Wax and let set overnight.
The final step to add tiles to your finished wood:
- 4, 4"x4" white square ceramic tiles (these actually measure 4.25" x 4.25")
- dandelion and dragonfly wall stickers
- scissors
- E6000 adhesive
- measuring tape or ruler
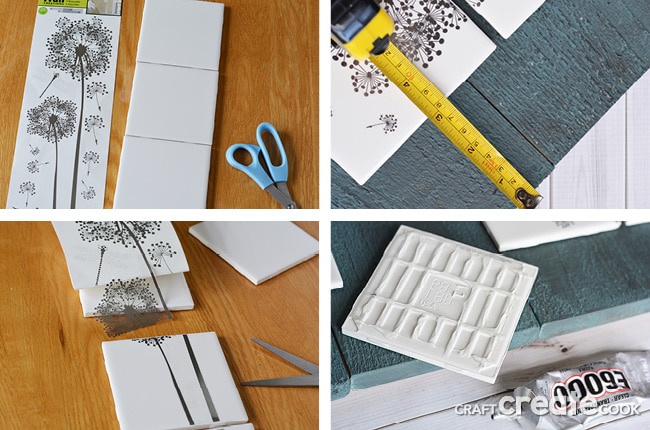
Lay your tiles onto a flat surface and line them up. Gently peel away your wall stickers, starting from the bottom and moving to the top. Lay the sticker onto the bottom tile and carefully cut the sticker where the tile ends.
Continue until all four pieces of tile are covered. Smooth the wall stickers with your fingers to remove air bubbles.
Place your tiles onto your finished board. Spread them out as desired. I used a measuring tape to get them in the center of the board (about 3" from the edge as shown) and placed them about 0.25" apart. Attach the tile to the board with E6000 adhesive and press firmly onto the wood. Let set overnight to dry.
And you are done! Where will you be displaying your favorite and easy-to-make pallet project?
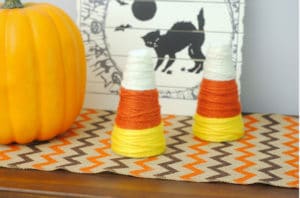
You will also want to make our DIY Candy Corn Fall Decor and our Homemade Wall Organizer.




Terri
Love this