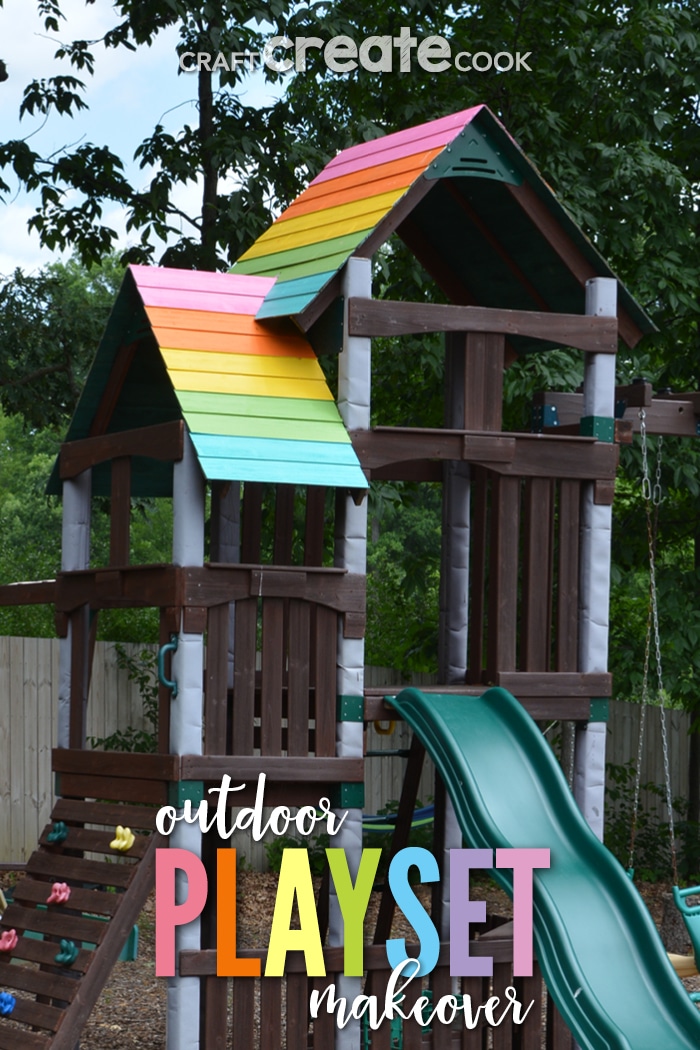
An outdoor playset makeover will tidy up your space and keep your investment in tip-top shape.
When I moved into my house two years ago, I was so happy we were able to keep the outdoor playset. I was dreading shopping and assembling an playset. I've heard horror stories of do-it-yourselfers buying a playset at the store and spending a week putting it together! I cannot imagine my kids even waiting 20 minutes while we unload the boxes to get the materials to the place we are assembling it!
Of course my kids were over-the-moon when they were first able to play on the outdoor playset. And I knew when we moved it needed another coat of stain, but I put the project on the back burner. This year I finally got to refinishing the wood and decided I needed to do a quick playset makeover.
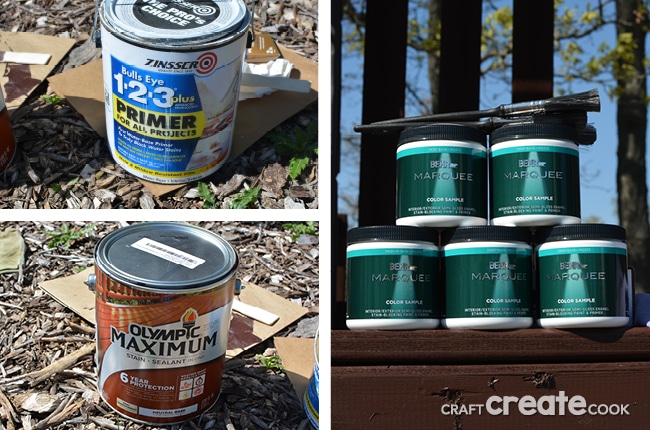
I called a few big box stores and made sure I could get a sample size of outdoor paint before shopping. Home Depot was the only store that had indoor/outdoor paint available for about $5 a sample. Upon walking into the store, I knew that I needed 5 colors. I grabbed 5 fun rainbow colors that happened to be on display and am so happy I didn't overthink my color choice!
How to Complete an Outdoor Playset Makeover
Materials:
- 1 quart outdoor primer (I had some on hand that I used)
- 1 sample size can of paint in the following colors:
- Sweet Chrysanthemum HDC-MD-10A (M)
- Tart Orange HDC-MD-27 (D)
- Yellow Groove HDC-MD-02A (D)
- Zesty Apple HDC-MD-15 (D)
- Tropical Sea HDC-MD-22 (D)
- Paint Brushes and Stir Sticks
- 1 gallon Outdoor Stain for Your Playset, similar to the current color if possible. My color is Clover Brown.
- broom, small brush, hand broom, wire brush (optional)
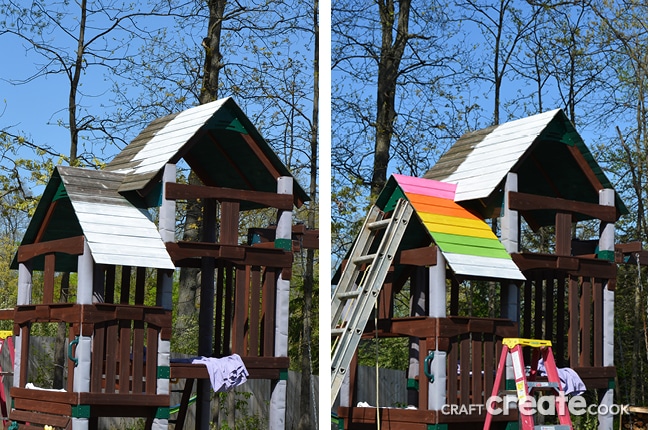
I'm calling this an intermediate to advanced project because I had no idea how high my structure was when I began this playset makeover! Thankfully I had a 6' and 10' ladder and a husband who helped me when I realized what my height threshold was standing on a ladder and painting! I reached "so far" and left the top two boards to my husband. He did a fantastic job!
If you do this on a new play set, I still suggest priming the roof planks and painting them rainbow before assembling them!
Directions:
- Check the local forecast to make sure rain isn't going to happen when you begin your project. You'll need the wood to be dry before beginning your playset makeover.
- Prep your area to be painted. I used a broom to knock down dirt, insects and cob webs. If there's loose stain, you can gently scrape it away with a paint scraper or gently use a wire brush to remove any loose stain.
- Stain your playset. One coat should be plenty and depending on the last time you stained your playset, you may notice the stain soaking in very well and may need two coats. Let dry completely between coats.
- Prime your roof planks, or any space you'd like to add some rainbow color. Let dry completely
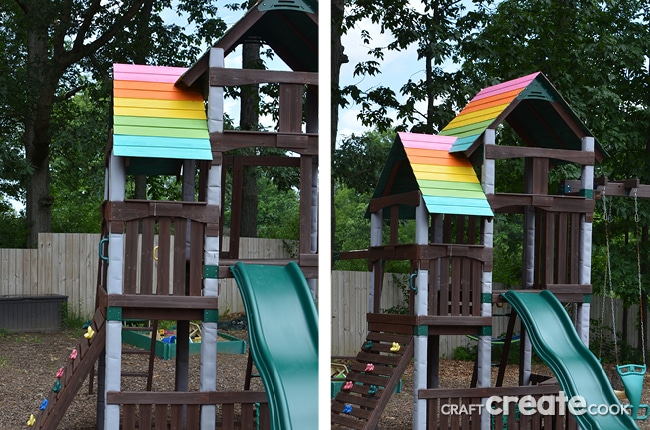
- Add your rainbow colors, one coat at a time, letting dry between each coat. I used 2 coats for each color.
That's it! Your playset makeover is complete! And if you have a daughter like mine, she might ask for rainbow to be inside the roof, too!
Want to complete some other fun home projects?
- Make an Outdoor Firewood Storage Structure with Pallets
- DIY Shiplap Kitchen Island
- How to Refinish a Table





Leave a Reply