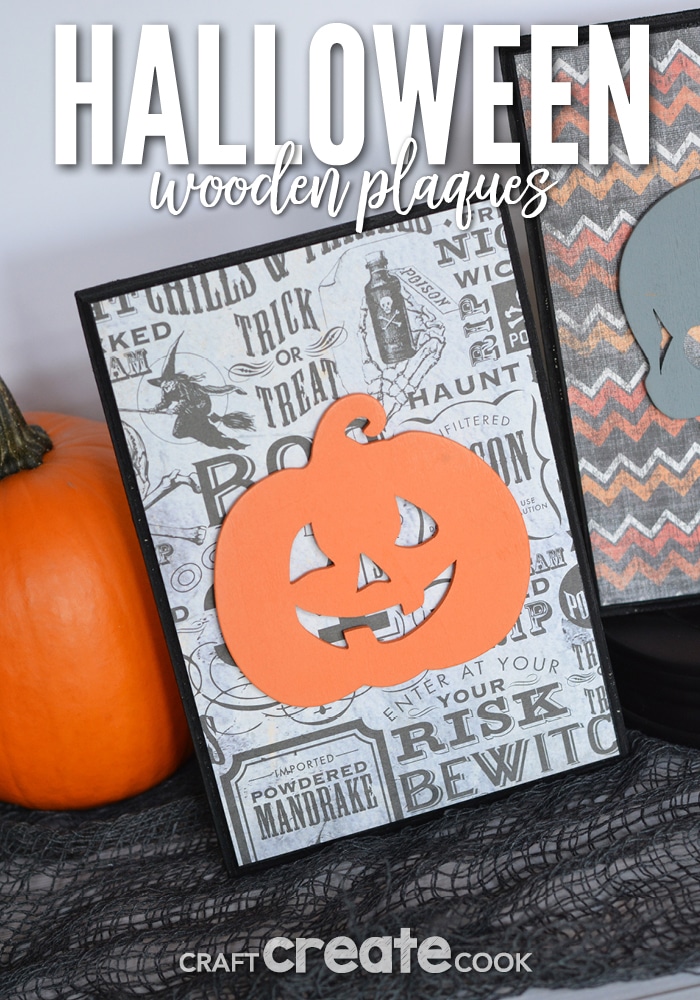
These wooden plaques are so easy to make you'll not only make them for Halloween but all holidays!
Halloween is right around the corner! My daughter is going to be a nurse and my son a Paw Patrol character and we already have our costumes! The kids have been "dressing up" for weeks and they always look forward to trick-or-treating.
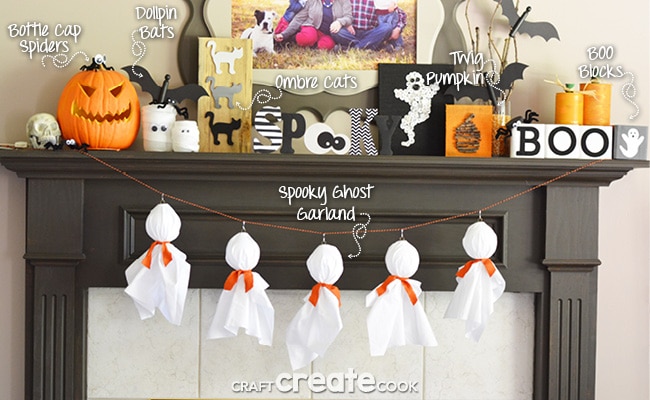
This mean it's time to decorate the house! I always load up my fireplace mantel with Halloween decor because it brings a smile to my face! It really does! When I walk into a room I love seeing the festive decorations.
These wooden plaques are so easy to make and they are a great way to add festive, holiday decor to your home. Or if you have a favorite scrapbook paper or fabric you'd love to save, turn it into a plaque and hang it in your house to enjoy.
How to make Wooden Plaques for Your Home
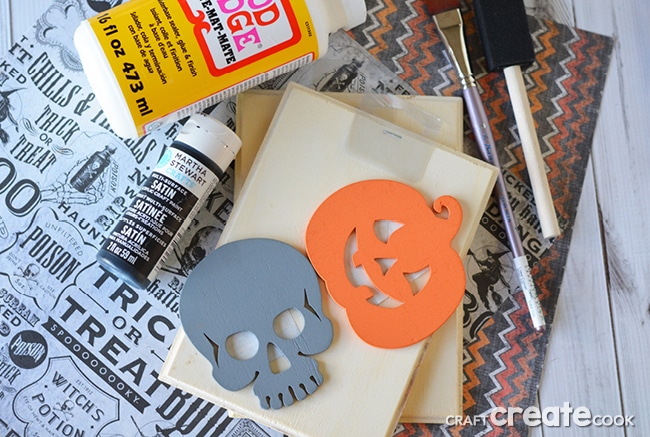
Materials:
- Unfinished Wood Plaques
- Black Acrylic Paint
- Scrapbook Paper
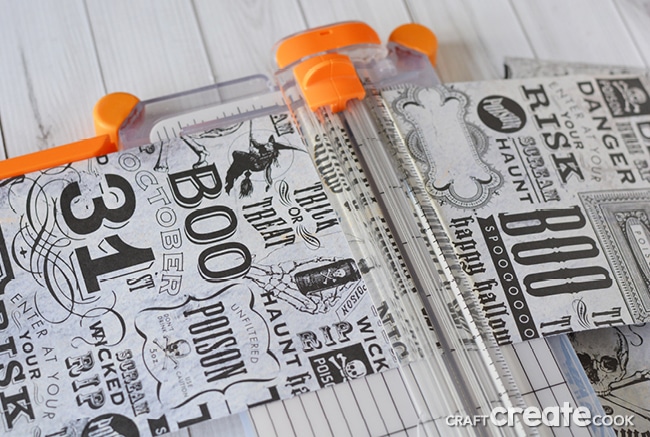
- Paper Trimmer
- Mod Podge
- Paint Brush
- Ruler
- Pre-painted Wood Cutouts
- Hot Glue & Glue Gun
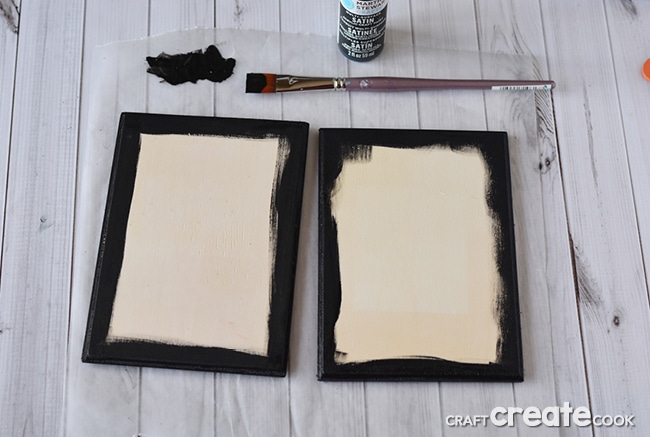
- Protect a flat surface with wax paper.
- Measure the front of the wooden plaque and cut a piece of scrapbook paper with a paper trimmer to fit onto the front of the plaque.
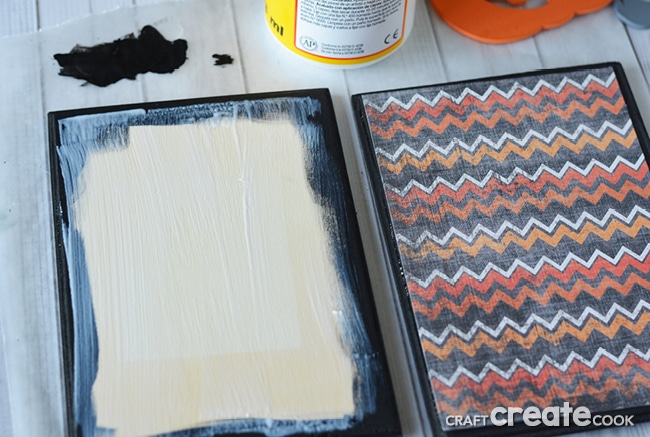
- Paint the edges of the wooden plaque with black acrylic paint. Let dry completely.
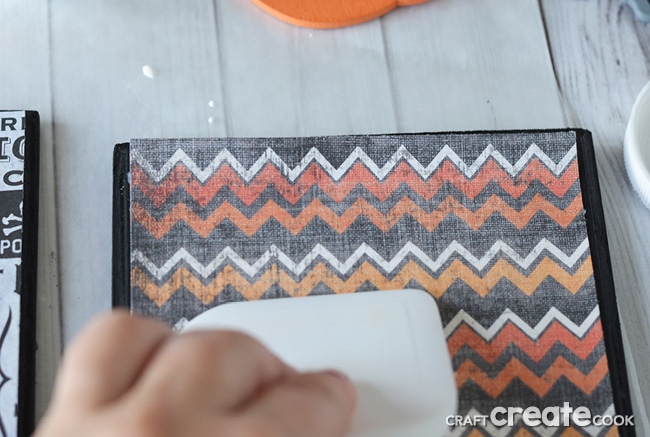
- Use mod podge to affix the paper to the wooden plaque. Apply a thin, even amount of mod podge to the wood and a thin, even amount to the back of the scrapbook paper. Attach the paper to the wood and gently pres from the center outward to flatten on the surface and smooth out any wrinkles.
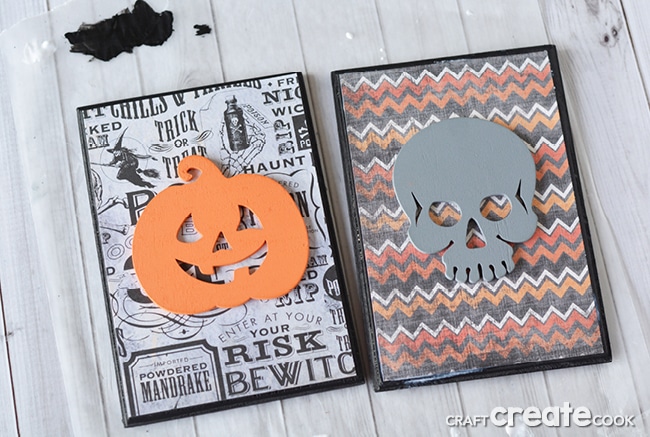
- Use hot glue to affix the wood cutouts to the front of the plaques.
Need some fun and easy home decor items for Halloween? We've got you covered!
Bottle Cap Spiders | Dollpin Bats | Ombre Cats | Twig Pumpkin | Boo Blocks | Spooky Ghost Garland

Leave a Reply