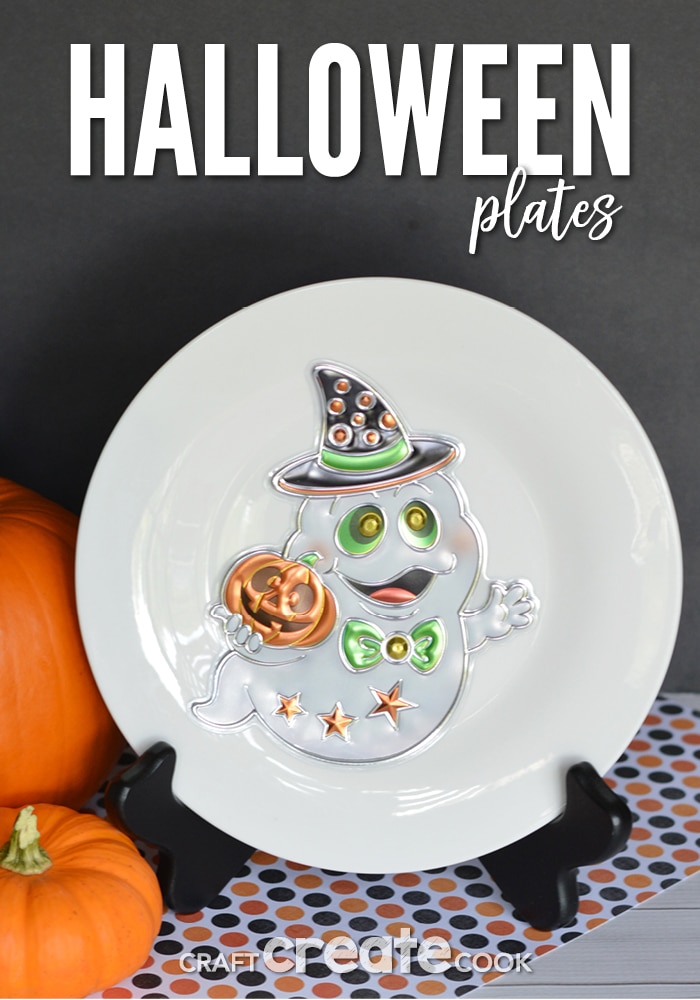
These affordable Halloween Plates will take you 2 minutes to make!
One of my favorite things about this easy craft is that you can change it for almost every season and you don't have to feel guilty when you want to get rid of it. Simply remove the window clings and swap with a new set!
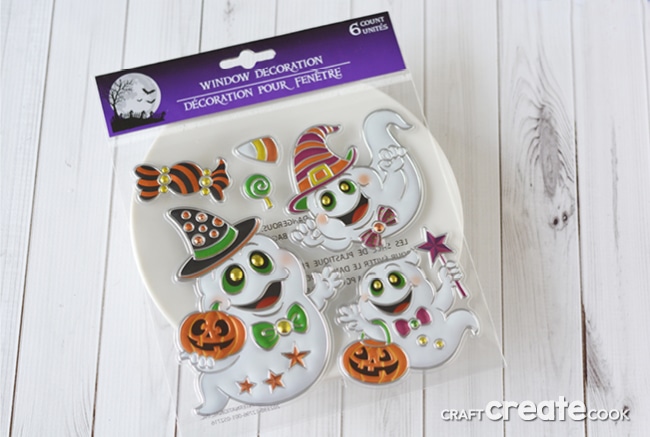
I grabbed these window clings at the dollar store. They have the most affordable options, but you need to look carefully at the window clings before you purchase them.
When shopping for window clings, make sure you look at the border of the artwork. Make sure the artwork has a clear or white border, something that matches you plate. This way it will look more realistic. The window clings I purchased were already cut out, but many are on a large flat sheet of vinyl and may have a colored border.
You can also grab some white plates at the dollar store while you're grabbing your favorite holiday window clings! These plates are about 7" in diameter. Make sure your window clings fit onto your plates as well!
How to make DIY Halloween Plates
- Wash and dry plates.
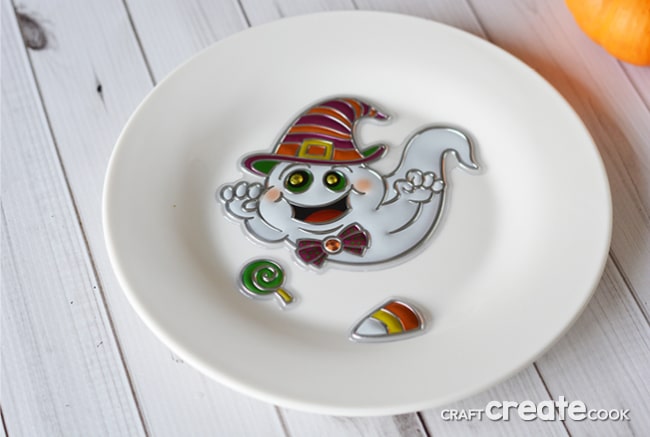
- Remove window clings and press firmly onto plates.
- Display the plates as you wish!
That's it! You're Halloween plates will look wonderful hanging on a wall, sitting on a nice display easel, or propped up on your shelf and add just the right amount of holiday decor to your home!
If you want to use your plates for another holiday, save the window cling packaging, remove the stickers from the plates and return them to the package. Save for the following year, or get new designs!
Need more Halloween home decor inspiration? We have LOTS!
- Simple Halloween Wood Plaques add a small touch of fun to your home.
- This Halloween Cupcake Wrapper Wreath will greet guests when they visit.
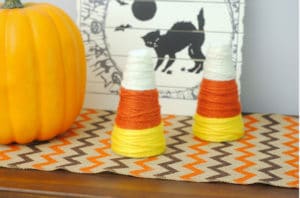
- You can use this Candy Corn Decor for Halloween and Thanksgiving!
- Halloween Bats are easy to make and you can place them all over your house!

Leave a Reply