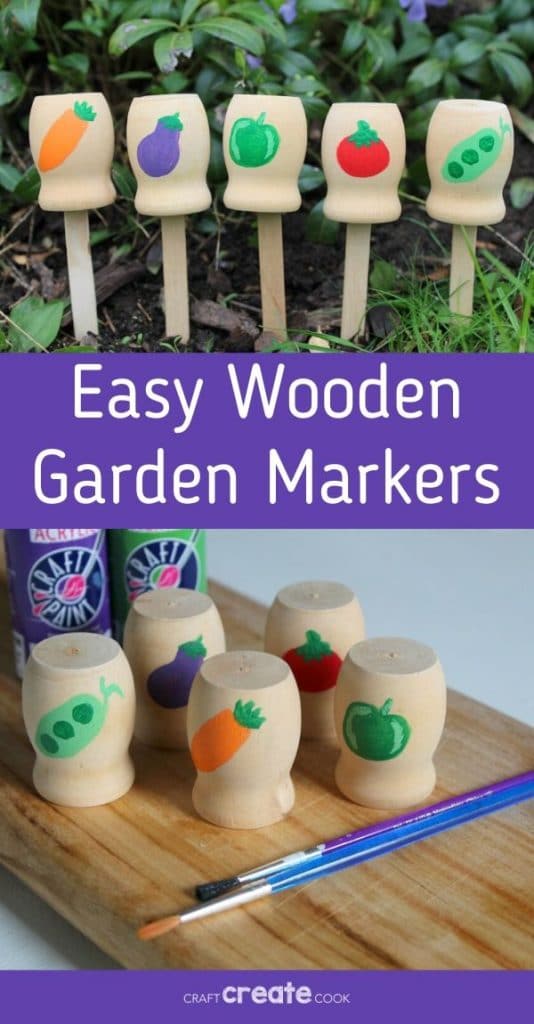
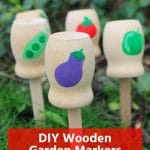
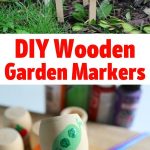
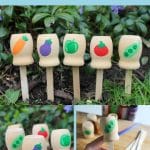
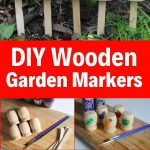
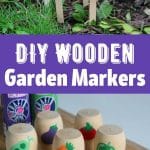
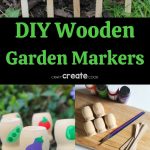
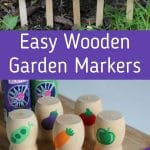
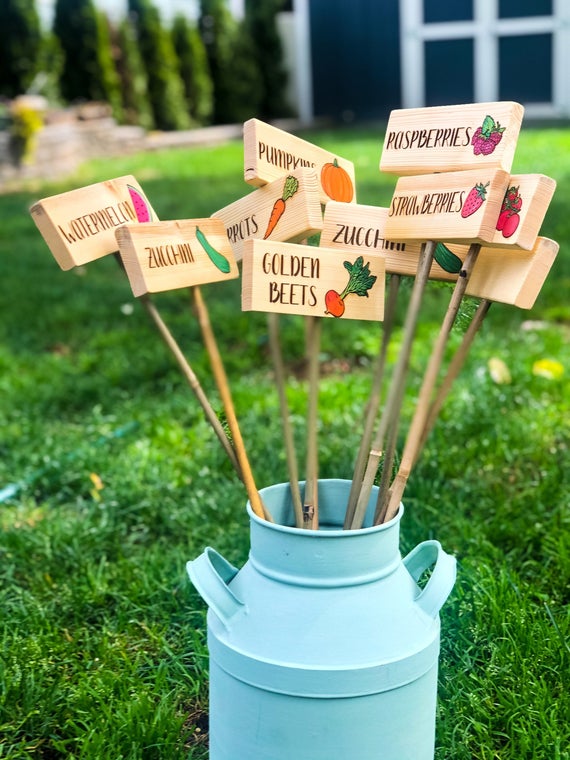
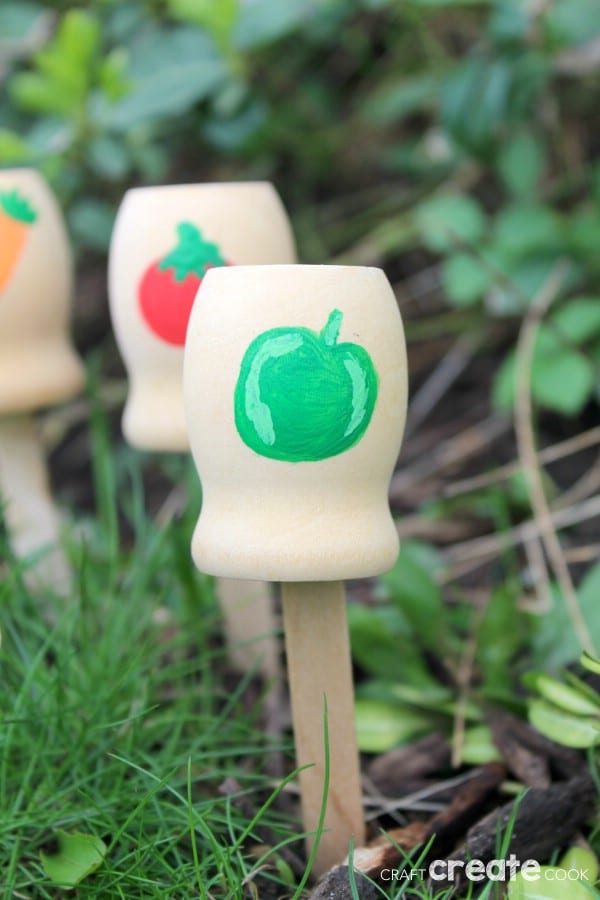
Properly marking your garden plants is important. If you plant a lot, it can be easy to forget what you planted and where! These DIY painted wood garden markers are a great way to keep your garden organized while also looking cute in the process. You can make a set of your own using some easy to find supplies, and in no time have all of your plants properly labeled.
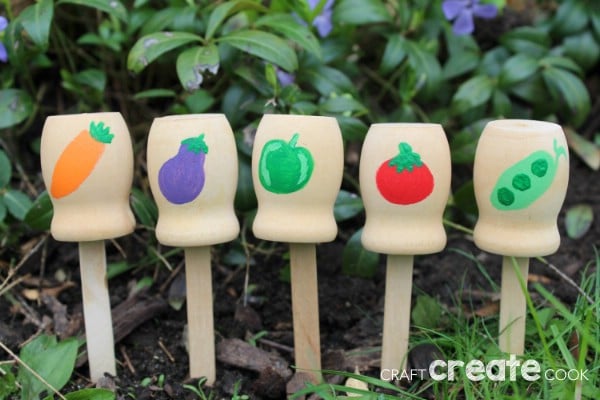
DIY Wood Garden Markers
Don’t panic if you don’t have any painting experience. We actually used some very simple shapes as the basis of our vegetable designs, making this a project anyone can do.
You can, of course, make these fit your own vegetable garden by creating ones for any vegetable you've planted. I also love the idea of using a printed paper template to help in painting if needed.
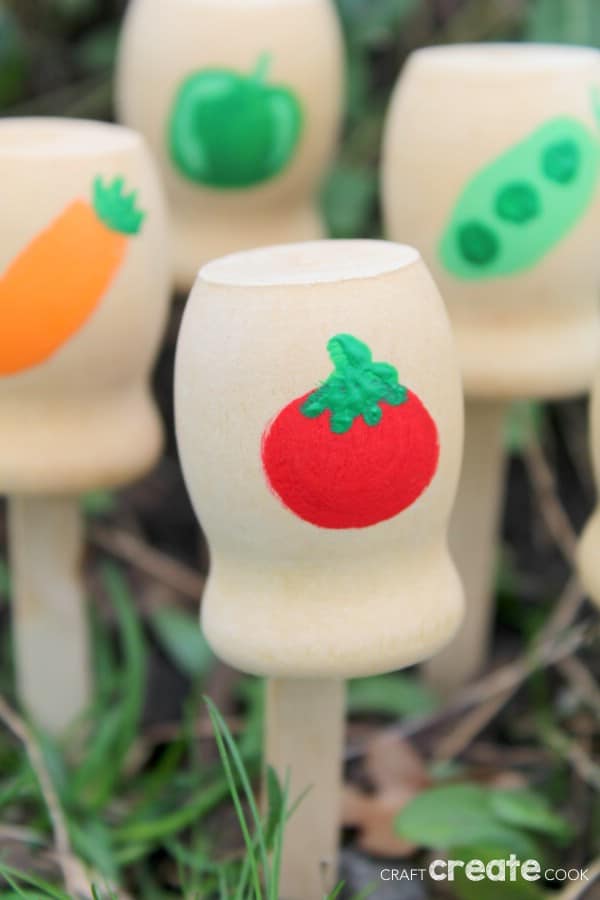
What Paint is Best for These Garden Markers?
I used a simple basic acrylic craft paint for mine. While you can use any type of paint, I would definitely avoid a water based paint that would wash away easily.
If you are really concerned about the paint wearing off easily, add a simple coat of some spray sealant before putting into your garden.
Supplies Needed
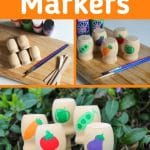
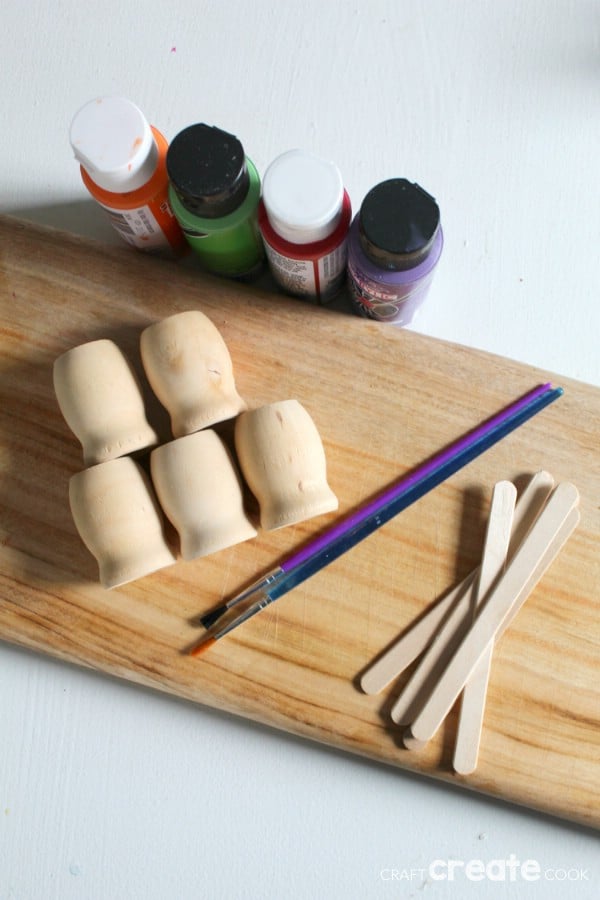
Let’s take a look at the supplies you will need to make your own painted wood garden markers. You can find these items at most craft and big box retail stores. You may be able to find some of these items at your local dollar store as well.
- Wood craft sticks
- Wood candle cups (found on Amazon)
- Acrylic craft paint in assorted colors
- Paintbrushes
Optional:
Note:
Most craft and DIY centers have the wood candle cups you see here, or you can find them on Amazon. The heavy duty adhesive and sealing spray are optional depending on your needs and how you will be using the garden markers. This will be discussed more in the directions.
How to Make DIY Wooden Garden Markers
1. First, make a list of the garden plants you need markers for. This will give you an idea of how many candle cups you will need as well as which paint colors you will need.
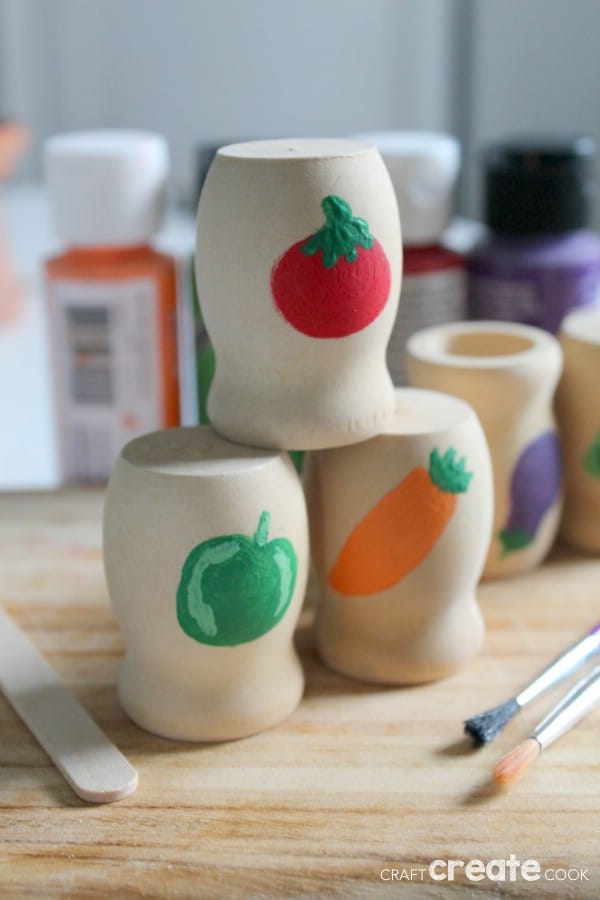
2. Now that you have your list you can start painting. The idea is to paint a picture of the vegetable or herb you are growing to identify it. Here are a few of the vegetables we painted on our markers, as well as how we did them.
- Carrot:
Paint a simple orange triangle. Allow to dry. Add small green lines at the top of the triangle for foliage.
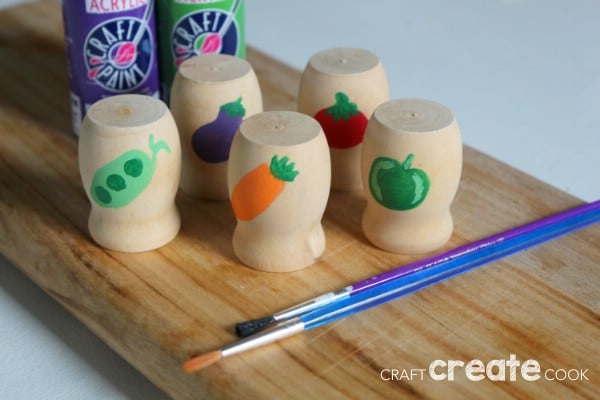
Use dark green paint to make a rounded heart shape. Allow to dry. You can then use lighter green paint to make some accent lines if you wish.
- Tomato:
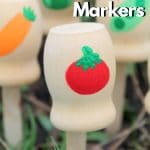
Paint a red circle. Allow to dry. Add small green lines at the top of the circle for foliage.
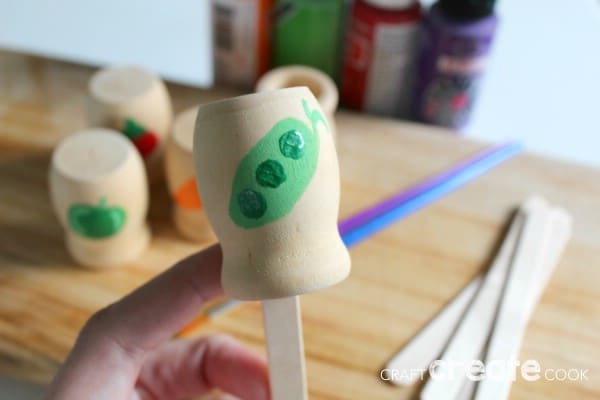
- Peas:
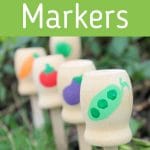
Use dark green paint to make a long oval. Allow to dry. Use light green paint to create small dots within the oval.
- Eggplant:
Paint a purple pear shape. Allow to dry. Add small green lines at the top of the shape for foliage.
As you can see, the idea here is to create simple shapes and build off of those to create your designs. If planting herbs, simple green stripes with dots or lines added for foliage works great!
3. Add the optional sealant. If you are using your garden markers for indoor seed starters, they will be fine to use as they are. If you are using them outside, you might want to give them a coat of multi surface sealant. Be sure you use clear, and apply once your paint is dry. The sealant will help protect the design in rain and intense sun. You don’t have to use the sealant, but you might notice some paint chipping if you don’t.
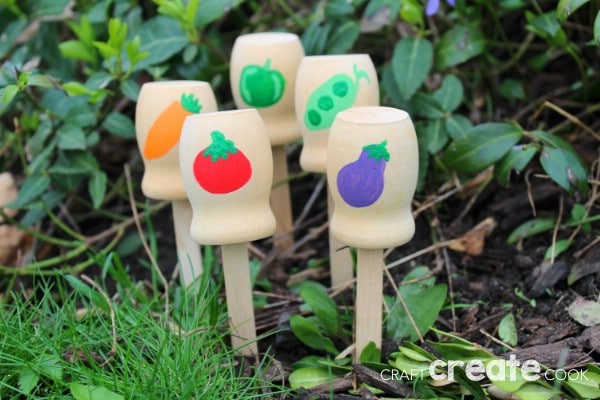
4. Assemble the garden markers. The candle cups will go on top of the wood craft stick where they will stay put just as they are. If you want extra security, you can add a few drops of super adhesive inside the cup and press it to the wood craft stick. Hold in place until dry.
5. Your garden markers are now ready to be displayed! All you have to do is press them into the ground and they are good to go.

More Garden Tips and Hacks
- Use this time for egg shell seed starters to save costs on growing from seeds.
- Add an upcycled flower pot butterfly feeder to your garden for decor and to help pollinate more.
- Make these DIY painted rock garden markers to mix in with these wooden ones for a unique garden decoration.
- Check out this list of 100 things you can and cannot compost to help build your own DIY fertilizer for the garden.
- Use this guide to growing tomatoes to make sure you have a huge crop this summer.
Crafter's Tip
Use paint pens instead of paint and brushes for more precision when making your garden markers!
Cute Painted DIY Wooden Garden Markers

Turn simple wooden candle cups into these adorable painted wooden garden markers to help keep your plants easy to recognize!
Materials
Instructions
- Turn the candle cups upside down so that the opening is facing bottom;
- Using a pencil outline the shape of the vegetable you want it to mark, I made a carrot, tomato, bell pepper, pea, and eggplant;
- Fill in the outilne with appropriate colors of paint adding accent colors and stems or leaves as desired;
- Set these aside for at least 30-minutes to dry, possibly longer depending upon the paint;
- Once they are dry, if you plan to stick them into the ground, add a dap of glue into the inside of the cup, and stick a craft stick in place holding until secure;
- Spray with a coat of water sealant if desired and let it dry completely before adding to the garden;
- Add to your garden in front of the appropraite plant.
Individual Design Ideas:
- Carrot:Paint a simple orange triangle. Allow to dry. Add small green lines at the top of the triangle for foliage.
- Green pepper:Use dark green paint to make a rounded heart shape. Allow to dry. You can then use lighter green paint to make some accent lines if you wish.
- Tomato:Paint a red circle. Allow to dry. Add small green lines at the top of the circle for foliage.
- Peas:Use dark green paint to make a long oval. Allow to dry. Use light green paint to create small dots within the oval.-
- Eggplant:Paint a purple pear shape. Allow to dry. Add small green lines at the top of the shape for foliage.

Notes
Make as many of these in different vegetable colors as desired for your garden. You can also use this same method to create unique garden decor by painting butterflies, dragonflies, bees, or birds onto the wooden cups instead of plants.
Recommended Products
As an Amazon Associate and member of other affiliate programs, I earn from qualifying purchases.
