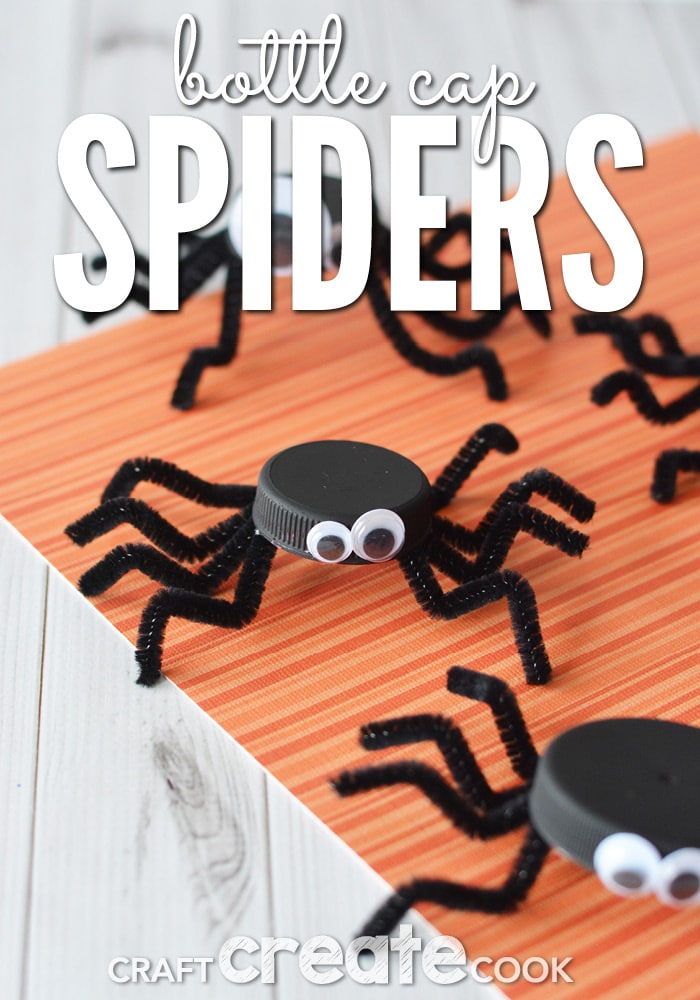
This bottle cap spider Halloween craft not only re-uses plastics in your home, it adds a friendly addition to your Halloween decor.
I'm always searching for fun and inexpensive projects to make with my kids. My daughter loves to make things and these bottle cap spiders were no exception. Not to mention, they look cute sitting out for Halloween around my house!
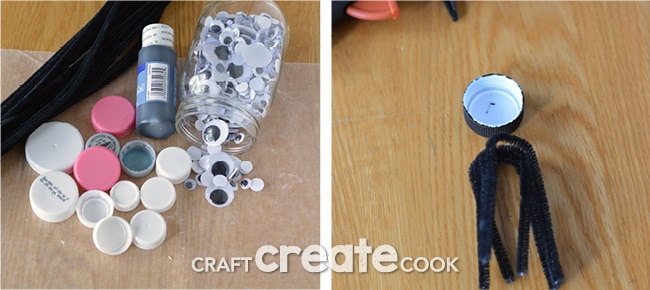
You'll need a few simple items to begin this fun Halloween craft:
- Bottle Caps, washed and dried. I had milk carton caps, soda caps, vitamin bottles, you name it. Anything with a cap, I toss into a jar for projects just like this.
- Black Acrylic Paint. I love Martha Stewart's Satin in Beetle Black
- Black Chenille Stems, or Pipe Cleaners
- Google Eyes in assorted sizes
- Hot Glue, low temperature glue gun if the kids will be using them
- Wax Paper
- Paint Brush
- First, cover your surface with wax paper and use black acrylic paint to paint the bottle caps. Let dry completely. While those are drying, prepare your chenille stems.
- You'll need 2 full length (12") stems per spider. Cut each stem in half so you have four pieces. Shape the pieces according to the size of the cap.
- Glue the chenille stems into the underside of the cap with hot glue and let set. Your stems will be sticking straight down from the cap.
- Shape your chenille stems to create legs.
- Attach eyes with hot glue.
And you're done! Once we finished this Halloween craft, I was bummed I didn't think to allow my daughter to use any color for the body and legs! I know she would have come up with some colorful and fun spiders to showcase in her room!
Stay tuned, we have more Halloween crafts coming your way! To re-use additional items, check out our bird feeders made of milk cartons!

Regina
How simple, and cool!!! Love it!
Kari
Thank you! They make us smile!