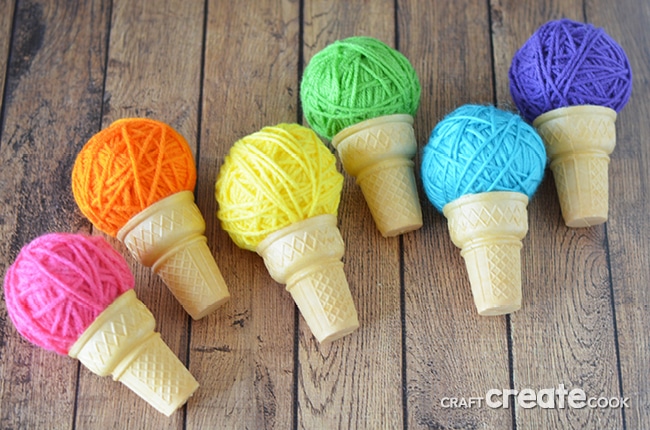
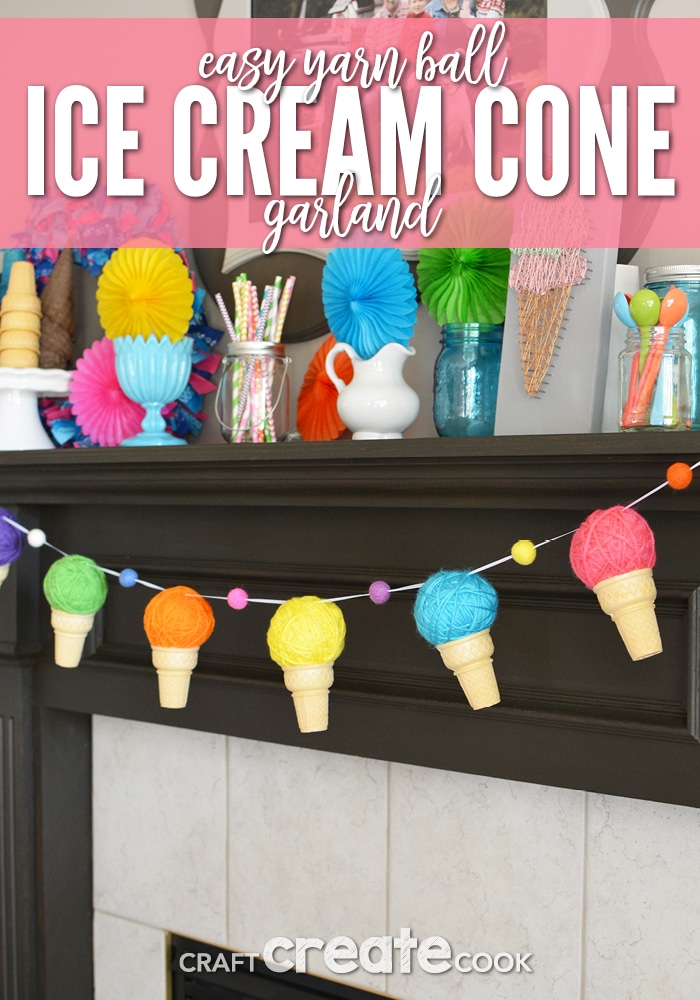
This easy to make ice cream cone garland will have you screaming for the real frozen treat!
One of my favorite parties I ever hosted was my Great-Aunt's 21st Birthday Party. We had an ice cream social with all of her friends in her development's clubhouse. Now if you've clicked on the link, you may be wondering how on earth I have a 21 year old Great-Aunt and why she looks so old in the photos.
My Great-Aunt was born on Leap Year, so technically she only has a birthday every 4 years. That means when she turned 21, she had been on this earth for 84 years. Now as a kid thought it was SO COOL that I knew an actual person born on leap year. As I got older, what I liked about my Great-Aunt being born on leap year was the inability to send her a late birthday card.
You see, if I sent her a birthday card on February 28th or March 1st, it never mattered, because technically she didn't have a birthday that year anyhow! Genius, I know! I'm pretty sure I find that funnier than most.
Anyhow, after the fact I thought about how cute this yarn ball ice cream cone garland would have been at her party. But since that had passed, I created a fun and exciting summer ice cream mantel decoration instead!
How to Make a Yarn Ball Ice Cream Cone Garland
- Materials:
- Plastic Shopping Bags
- Yarn in Various Colors
- Ice Cream Cones
- ⅛" White Ribbon
- Felt Balls
- Hot Glue & Hot Glue Gun
- Large Needle (that your ribbon will fit through)
- Masking Tape
Directions:
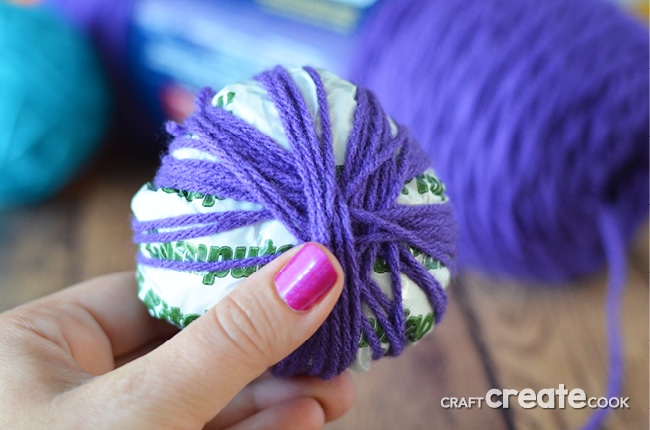
- Flatten 3 shopping bags and place one on top of the other. Beginning with the corners, roll the bag inward, creating a ball. Tape the bags together in a ball shape with masking tape.
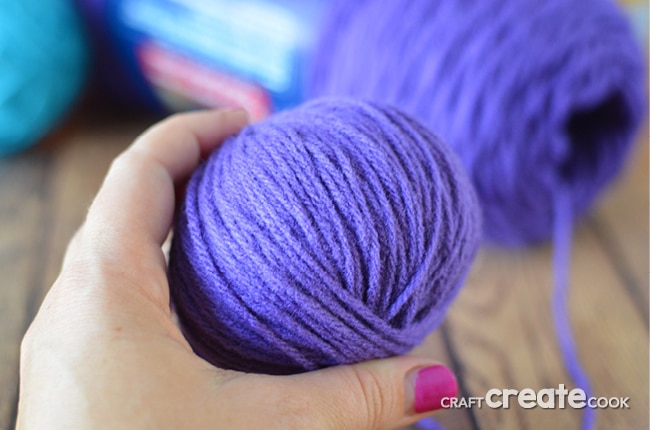
- Wrap yarn around the ball. You'll need to completely cover the ball, so begin criss-crossing the yarn so it stays on the bag and then wrap yarn right next to each other sit it covers the bag. Make sure not to pull the yarn too tight, or you'll crush your ball.
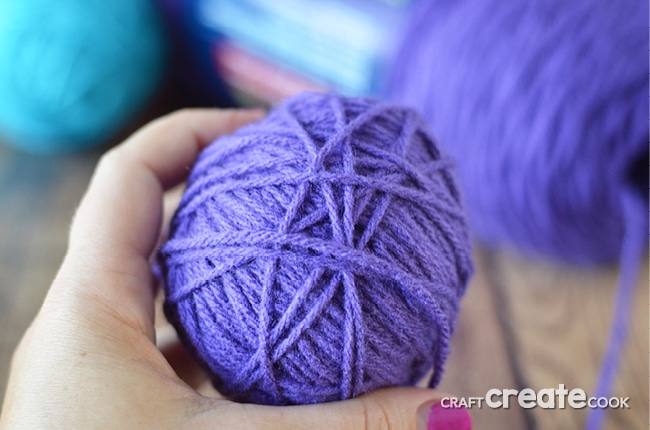
- To finish the ball, criss-cross yarn so it's going every which way and direction. Repeat with the desired number of colors.
- Add the yarn ball to the ice cream cone by using hot glue. Add a swipe of hot glue around the cone and press the ball gently to secure.
- Once all of your ice cream cones are put together, cut a piece of ribbon about 6" longer than the space you'd like to hang the ice cream cone garland. Tie one end with a slip knot.
- Using a large needle threaded with ribbon, alternate threading felt balls and cones onto the ribbon to create the garland. To finish the piece, add a slip knot to the loose end of the garland.
- Hang your garland as desired and gently slide the felt balls and cones to even them out.
Whenever a person sees my ice cream cone garland on my fireplace, they always ask "Are those real cones?" Of course they are! And so far, two years later, they've held up just fine. If you are worried, you can always spray your cones with a clear matte spray to help protect them. The cones are still fragile and care should be taken when storing them.
If you want to, you can make the entire yarn ball out of yarn, and omit the plastic bags. I just find you will use less yarn and spend less time making a ball if you simply wrap it around a few plastic bags. Plus, I tend to have a gazillion plastic bags and I'm happy to be able to reuse a few!
What are some of your favorite fun home decorations? You might like to try these to brighten up your space!
- This Marbled Pottery Pot is easy to make and you can add any color you'd like to fit your home decor!
- An easy no sew Watermelon Wreath is perfect to greet guests who come through your front door!
- Our Coffee Mug Bird Feeder upcycles an old mug and saucer and makes bird watching fun!


Leave a Reply