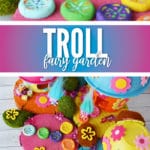
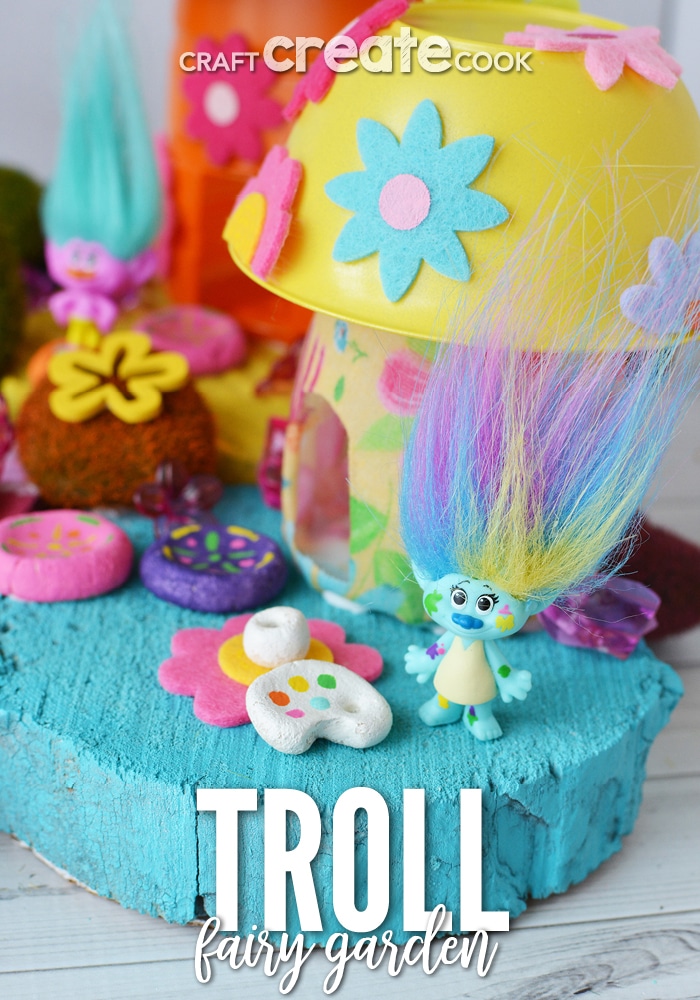
You can make your own troll fairy garden for hours of fun!
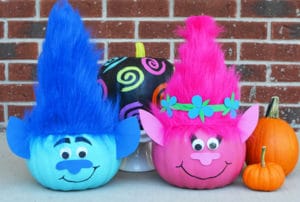
I'm pretty sure if I could re-do my entire house, I would make it look like a place from the movie Trolls. Actually, I'd probably move into a warehouse, renovate it so I could live in it and then hang giant life-size pod beds from the ceiling, color the walls bright, fun colors, paint the floor and cover the area with moss and glowing trees and have a fun troll-like area. I'm THAT obsessed with Trolls.
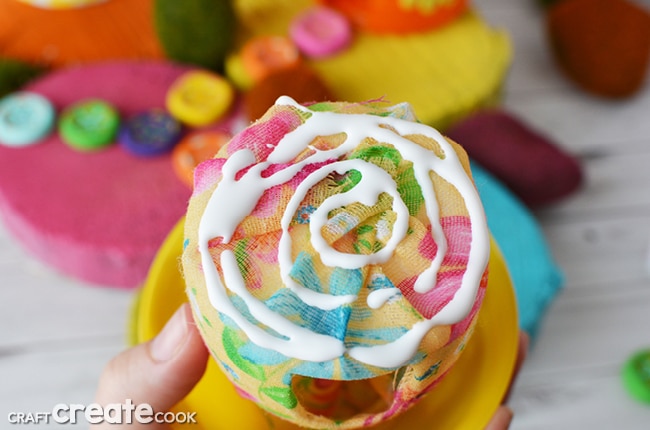
After I made my super fun Troll Houses, I had to secure the house to something so my kids could play with them. Although I loved that my kids were spending hours playing with their new troll houses, they were also losing them. One would end up on the windowsill in the bedroom, one was in a backpack, one was in the car. So securing the houses to one place was absolutely necessary! Just like a fairy garden, I thought! BINGO! The Troll Fairy Garden project began!
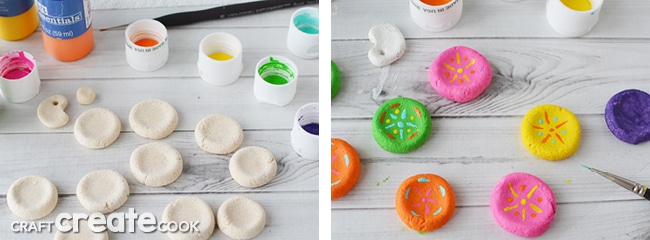
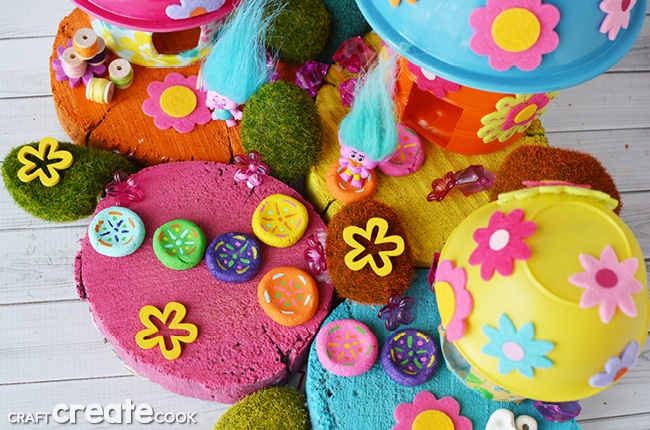
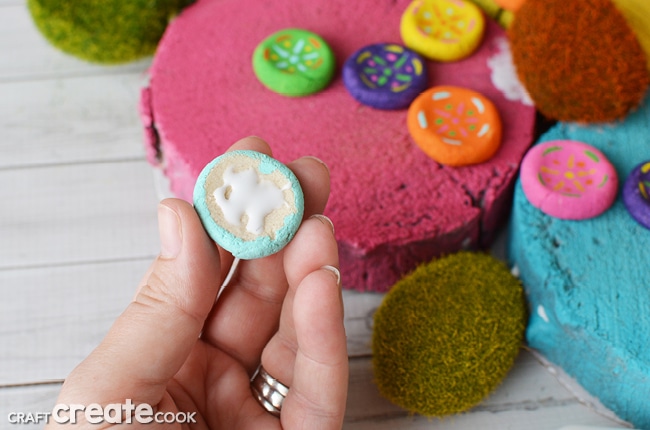
My daughter and I took advantage of some homemade salt dough to make some very inexpensive accessories for our troll garden. We shaped the dough into small, quarter size, stepping stones, and let them dry. Once dry, we painted them with acrylic craft paint.
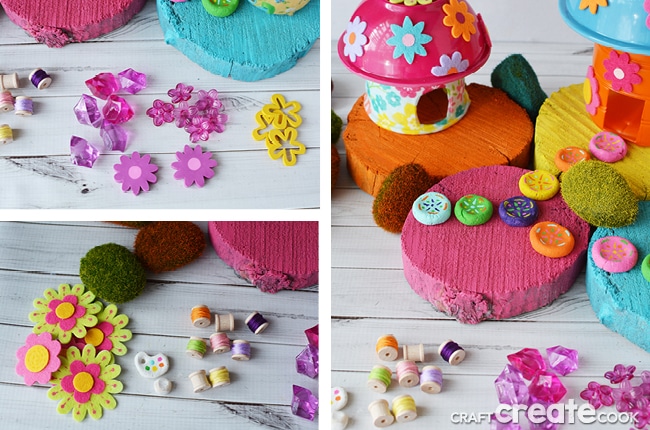
I knew we had an "art" troll so I made a little paint palette for her and a small cup out of salt dough. It ended up being one of my favorite accessories.
I grabbed some moss "stones" at the dollar store and spray painted them various colors to fit into the troll fairy garden. I found some additional accessories here and there including plastic rock gems, adhesive flowers, dollhouse size wood spools we wrapped with embroidery floss.
If you're struggling to find small accessories, check out:
- small scrapbook embellishments
- dollhouse accessories
- fairy garden accessories
- small beads and buttons
- hair accessories for flowers and bows
- small erasers shaped like food and everyday objects.
How to make your own troll fairy garden
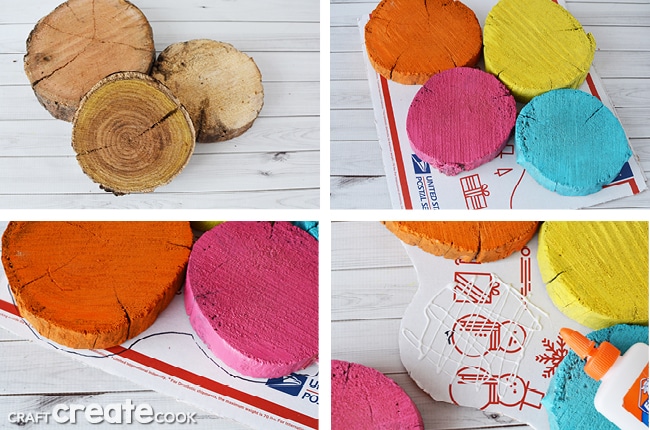
- Find a good base. My husband cuts wood for his wood stove so I have an unlimited supply of logs as well as someone to cut them. If you do not, you can purchase pre-cut logs, or try another option, such as hardcover books you glue shut, or maybe round baking pans turned upside down.
- Decorate the base. I chose fun spray paint to paint each of the logs (Berry Pink, Sun Yellow, Real Orange and Seaside colors). I added white as a primer and then color. 2 coats may be best, especially if you have rough logs and need to get in between the crevices. Let dry completely.
- Reinforce the base. Once you have a good base, you'll want to add some cardboard to reinforce it and keep it in one place. Place your base onto a flattened box and trace around it with a marker. Cut just inside your line and secure your base onto the board. I did this with white glue, but you could also use wood glue, hot glue or even craft glue. This also makes moving the troll fairy garden to different locations easy.
- Plan your garden. Place your troll houses onto the base, arranging things as you'd like and as they fit. You can tuck the moss stones into any holes you have from your base and attach to the outer edges to make the base seem bigger. Once you're happy with your troll fairy garden, you're ready to move onto the next
step. - Secure your items. Grab some glue and start attaching your houses and accessories to the garden! I really found a variety of glue to work with this. Craft glue is great for irregular spaces because it creates a flexible dry texture which seems to work well with things like the moss stones. Hot glue is also a great option. If you need your items to be super secure, go for a Gorilla Glue or E6000 adhesive. Make sure you read the package directions to ensure adequate drying time. Some glued items were trial and error and we had to re-attach them later, but I somewhat expect that with my handmade items and my children's play!
Need some more fun Troll ideas? We have everything from no bake snack mixes, crayons, snack cups, cupcakes, party favors and wigs here!

Leave a Reply