Making your yard butterfly-friendly is a great way to keep these beautiful creatures coming to visit! This DIY flower pot butterfly feeder is a great way to keep them fed and happy. Making your own is simple, and the entire project can be done in no time. Take a look below at how to make your own flower pot butterfly feeder, so you can keep your butterflies happy.
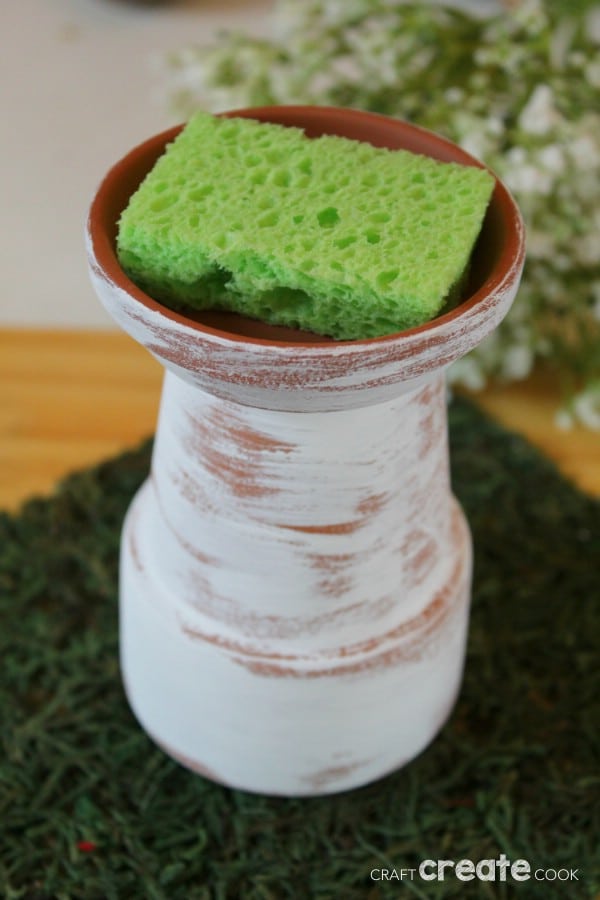
Flower Pot Butterfly Feeder
There is nothing more beautiful than a fluttery butterfly floating around your flowers. I love that this is such an easy little craft to make that will ensure I have butterflies in my yard.
Can you imagine being able to look outside to see butterflies floating on your porch, back deck, or around your garden? They are truly one of the most beautiful creatures.
Delicate wings, bright vivid colors, and of course, the fact that they weren't so pretty at first, but time and patience created a gorgeous creature - they are one of the most inspiring things you will see.
How Can I Attract More Butterflies to My Feeder?
While you can't guarantee you will have them arrive, it's fairly common that when you have plants, you'll see a few. Below are some ways to help make sure you have more butterflies in your garden.
- Plant a wide range and variety of flowers for them to choose from.
- Place the feeder in an area that has low or no wind - this makes it easier for them to stop and drink without being blown around in wind.
- Plant your flowers together so there is a lot of variety in one place rather than spread apart. More options mean more butterflies.
Butterflies also like some flowering herbs, like lavender. If you haven't grown herbs before, check out this easy tutorial for how to make seed starters from eggshells.
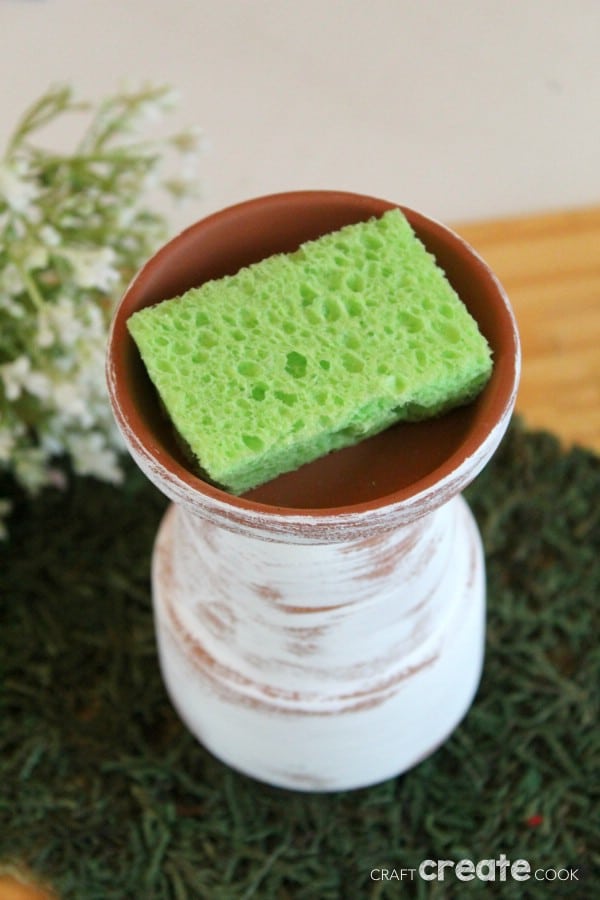
How to Make Butterfly Nectar
Not only do you need to put this out in an area they will find it, but you have to provide it with something to eat! This simple butterfly nectar is easy and perfect for keeping them coming back time and again.
Mix ¼ cup sugar with 1 cup of water. Mix well until the sugar is dissolved. If you wish you can heat the water first to make the sugar dissolve quicker, just be sure to let it completely cool before adding it to the feeder.
How to Use Your Butterfly Feeder
You want to set the butterfly feeder in an area that is shady, cool, and well protected. This might be in the shade of a shrub or around some ground cover. It is a great idea to place the feeder near plants that butterflies are attracted to such as lavender or butterfly bush.
You may need to refill your feeder as needed. Simply pour more of the nectar in when you notice it getting dry or low. You can keep your nectar in the refrigerator until you need it again. Just be sure to label it well so you know what it is.
Now all you need to do is wait and watch for the butterflies to appear! It may take a little while before they find the feeder, but once they do they will come back again and again.
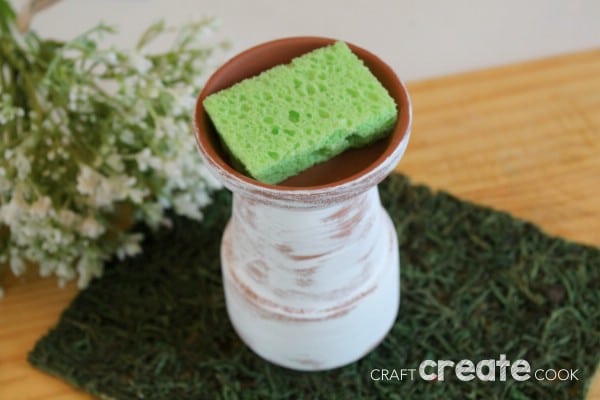
Can I Make This Larger?
You definitely can! I like the small version as it is easy to make and add in a few places around the garden. But, if you are looking for a pretty addition that is larger, then make a larger feeder.
The same process would work for a larger feeder. Just know that if it is larger won't necessarily attract more butterflies to your yard.
Supplies Needed
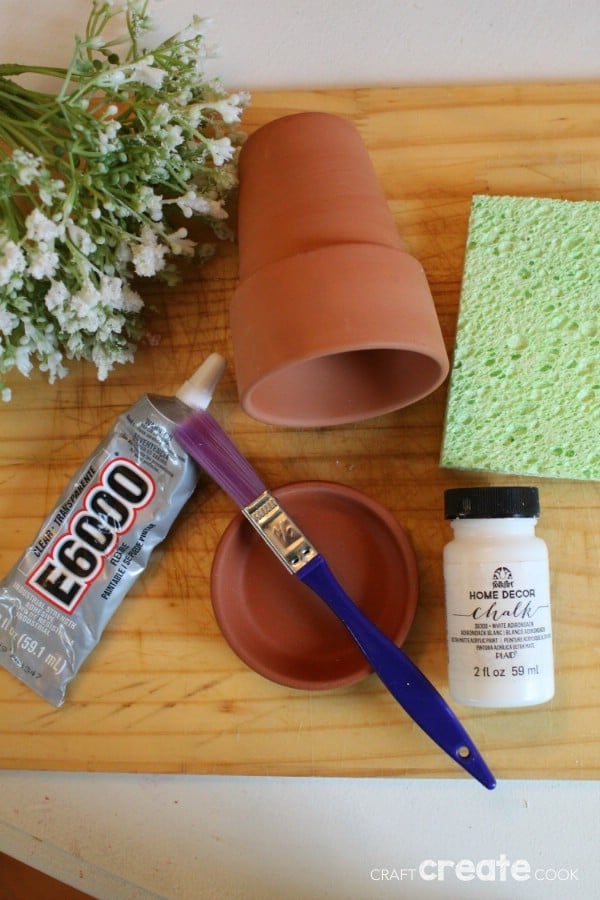
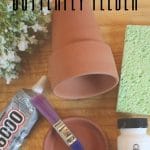
These are the supplies you need for your butterfly feeder. As you can see most of these are household items you may already have. If not, they can be found at your local variety store.
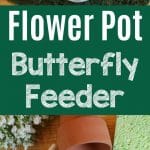
- small terra cotta flower pot and saucer
- sponge
- scissors
- super adhesive
- optional: craft paint and paintbrush
A note about supplies: For this project make sure you are using a brand new sponge. You don’t want to risk using a used sponge that may have bacteria in it, as it could be harmful to the butterflies.
How to Make a Butterfly Feeder
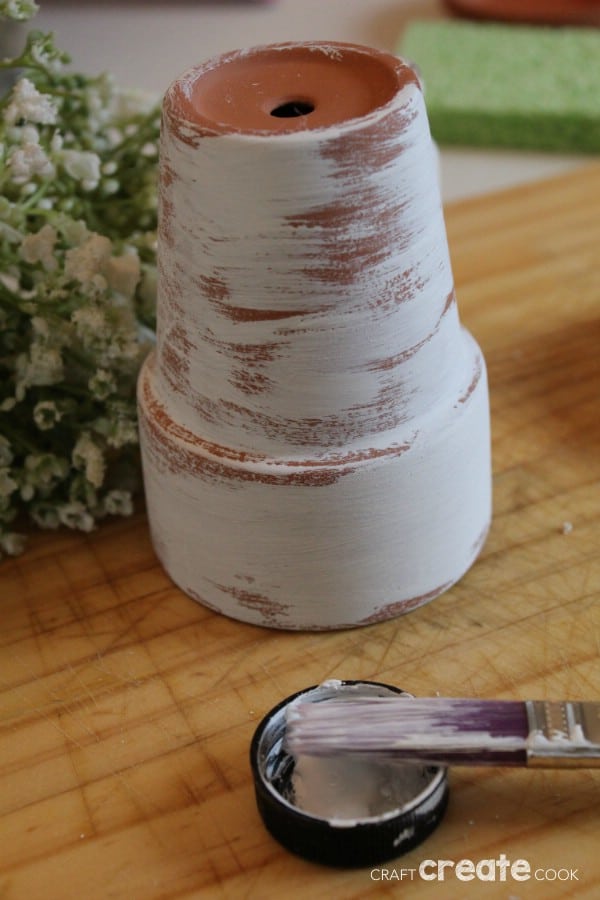
1. Start by painting your flower pot and saucer. This step is optional. If you don’t wish to paint the pot you can skip stepping two. If you do, simply apply a layer of paint to the outside of the pot and saucer. YOU DO NOT want to paint the inside of the saucer. Leave this plain. Allow the paint to dry.
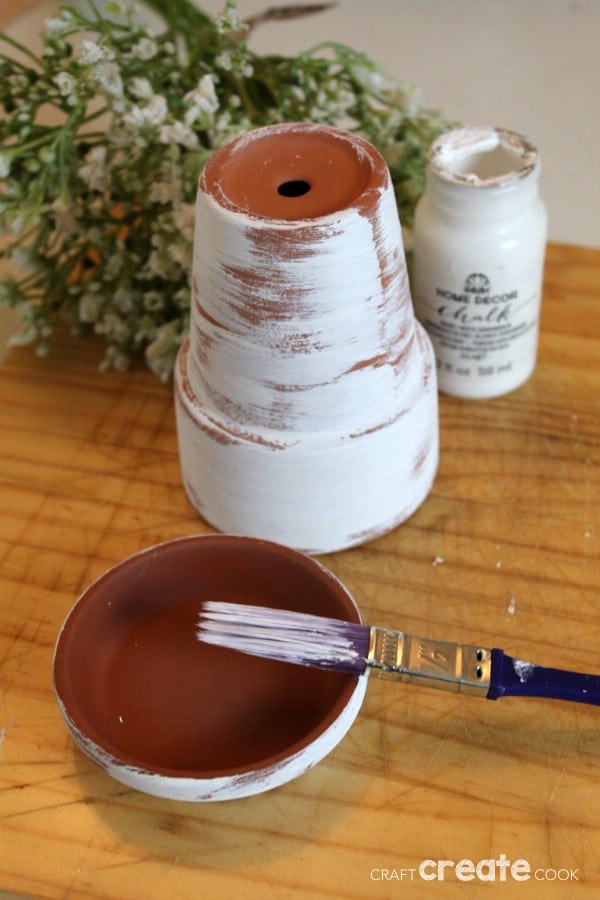
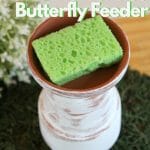
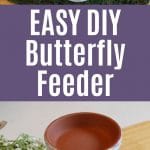
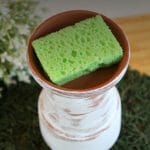
2. Once your paint is dry, you can assemble the butterfly feeder. Turn the flower pot over and apply a generous amount of super adhesive to the exposed bottom. Press the saucer to the adhesive and press it into place. The saucer should be placed facing up as you will need the reservoir shape to hold the food.
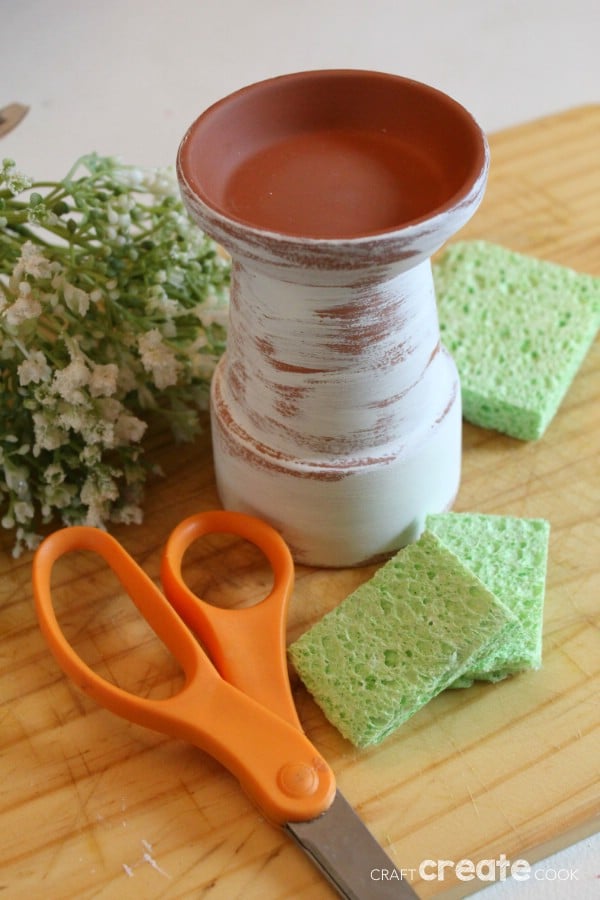
3. Take your new sponge and cut it into a square. You want the square to fit nicely in the saucer, so be sure to cut it to size. It is easier to cut a sponge when it is wet, so dampen the sponge first before cutting.
4. Place the sponge segment in the saucer. You are almost done!
5. Add the butterfly nectar by simply pouring it over the sponge. It is ok if some of it pools in the saucer.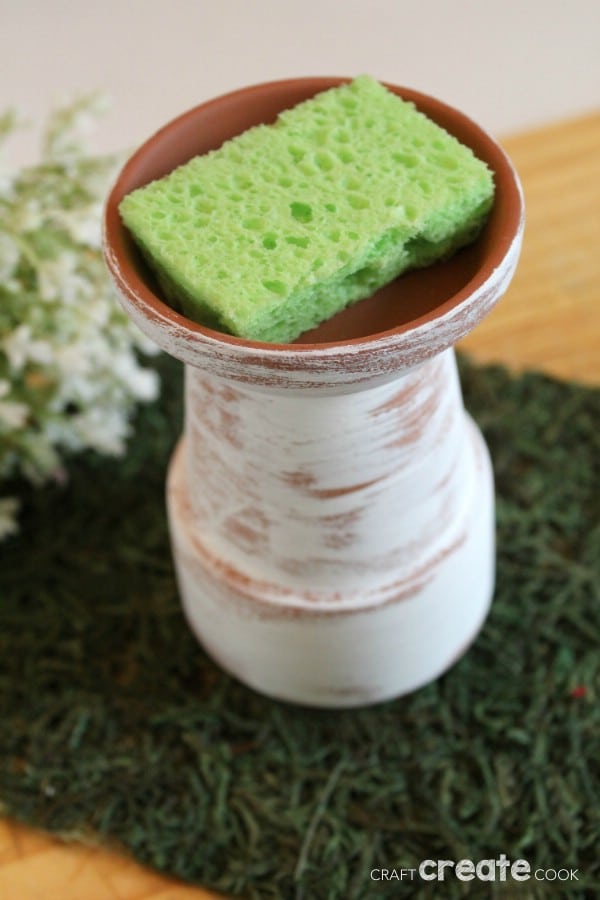
More Ideas for Your Garden
Alongside this butterfly feeder, you may want a few more ways to add beauty to your garden. Below are some great tips to add life to your garden!
- 20 DIY Vertical Gardens That Give You Joy in Small Spaces
- Flower Planter Bee Decoration for the Garden
- Make Your Own Fairy Garden
- DIY Painted Rock Garden Markers
- 20 Magical DIY Fairy Gardens
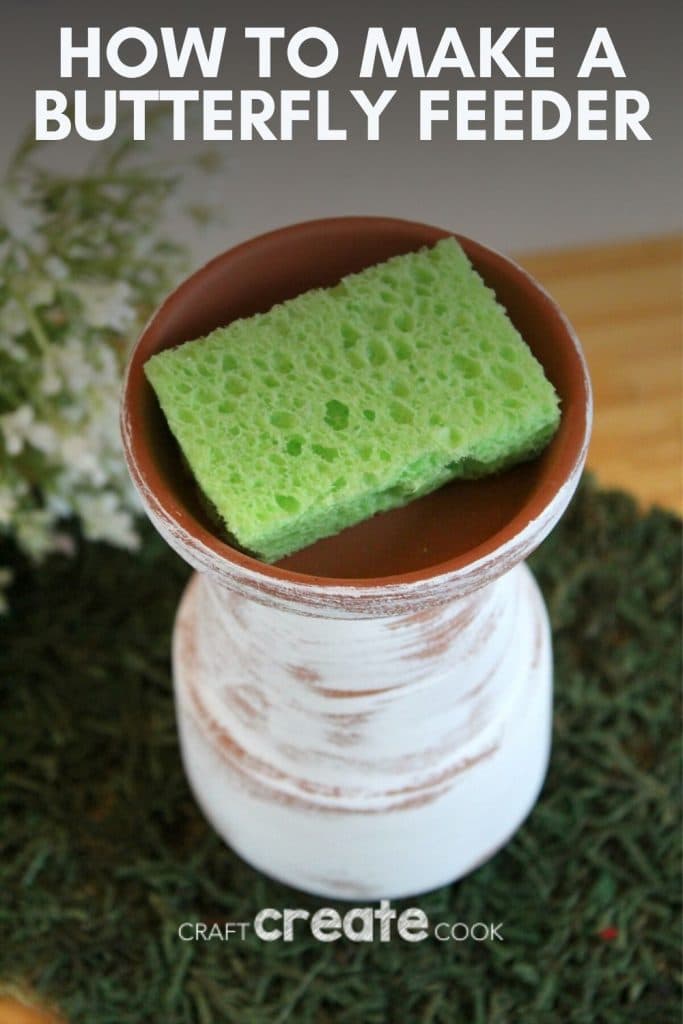
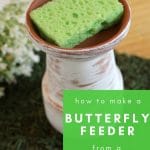
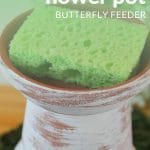
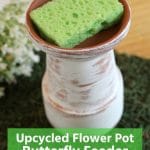
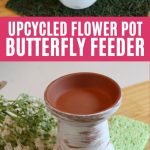
Upcycled Flower Pot Butterfly Feeder

Make this adorable upcycled flower pot butterfly feeder to encourage more butterflies to come to your garden for food!
Materials
Tools
Instructions
- Paint the outside of your flower pot and the bottom of the saucer leaving the top of the saucer without paint then set aside to dry;
- Once the paint has dried, turn your flower pot upside down, and attach the saucer to the top with the unpainted side facing upwards;
- Cut the kitchen sponge to fit inside the saucer and set it in place;
- Cover the sponge with butterfly nectar.
Notes
Make multiple butterfly feeders to place around your garden to attract even more butterflies.
Recommended Products
As an Amazon Associate and member of other affiliate programs, I earn from qualifying purchases.

Shana
Don’t ants get into it?