You'll want to make more than one of these easy DIY Easter Decorations!
Every retail holiday switch, I fall in love with the seasonal products in the store. It doesn't matter which store I go to, if I see seasonal items, I swing by to at least browse. Usually I have a kid shopping with me, so I make sure to get him or her all excited about checking out the Easter stuff! They actually love it since about half of the items are toys and candy no matter what time of year!
I stumbled upon these adorable paper mache bunnies at Joann's and knew I just had to have them. I wasn't sure what I would do with them, but I tossed them into my cart and went on my way. Sometimes I struggle with this "blank canvas" type of project because my mind always tries to make something realistic. But once I got home and started digging, I remembered I had this awesome burlap paper.
This burlap paper is incredible in that it doesn't fray when you cut it. Fraying and wrinkled burlap is one of my biggest pet peeves! I love the look of the fabric but I especially love the colors of this paper!
How to Make 5 Minute Easter Decorations
Materials:
- Paper Mache Bunny
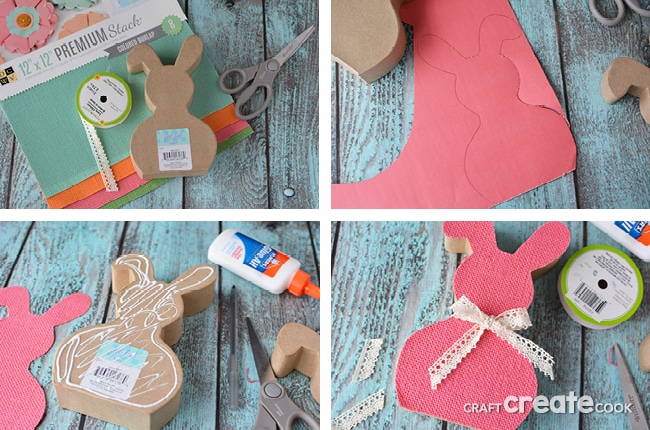
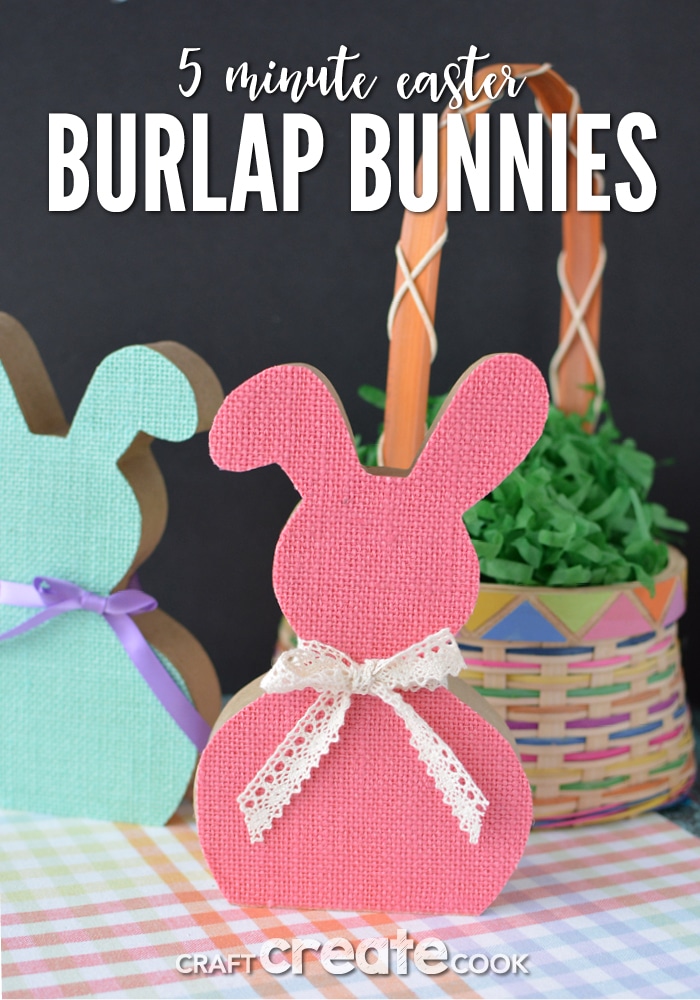
- Colored Burlap Scrapbook Paper (I used DCWV Colored Burlap 12x12 Premium Stack Scrapbook Paper)
- White Glue
- ⅝" lace ribbon and satin ribbon
- Pencil
- Scissors
Directions:
- Place your bunny onto the back of a piece of the burlap paper.
- Use a pen to trace the bunny on the paper.
- Cut the bunny out with scissors. Trim just inside the line you drew so it fits perfectly.
- Attach the bunny cutout to the paper mache bunny with white.
- Tie a lace or satin ribbon around the bunny.
Need more Easter decorations for your home? Check out these fun DIY ideas:
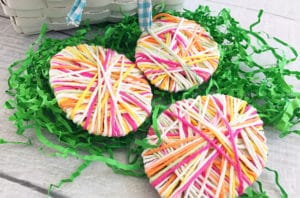
- Easter Yarn Eggs perfect for hanging
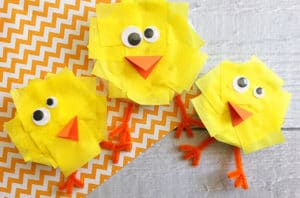
- Easter Popsicle Stick Chicks and Bunnies
- Easter Pallet Project


Leave a Reply