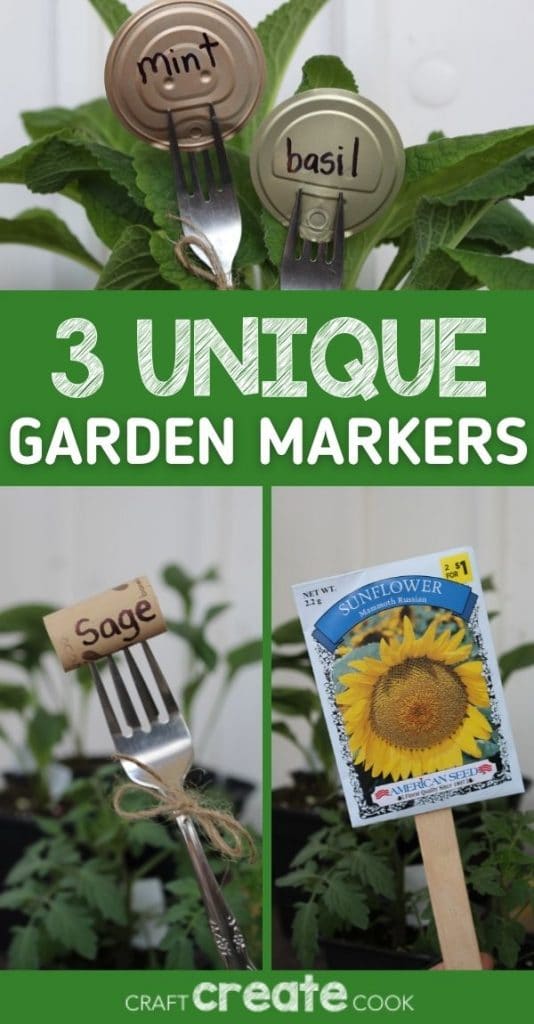
Are you a fan of turning trash into treasure? Today we are going to show you how to take some simple household items and turn them into garden markers! There is no need to spend money on fancy garden markers when you can easily make them with items otherwise destined for the trash. Take a peek at these easy upycled DIY garden marker ideas, and see if one of them might work for you and your garden space.
DIY Garden Markers
Whether you have a large backyard garden, small container garden, or an indoor greenhouse, you need to know what plant is which. This year you don't have to be confused. Instead, you can use one of these fun garden marker ideas to create a unique look for your plants.
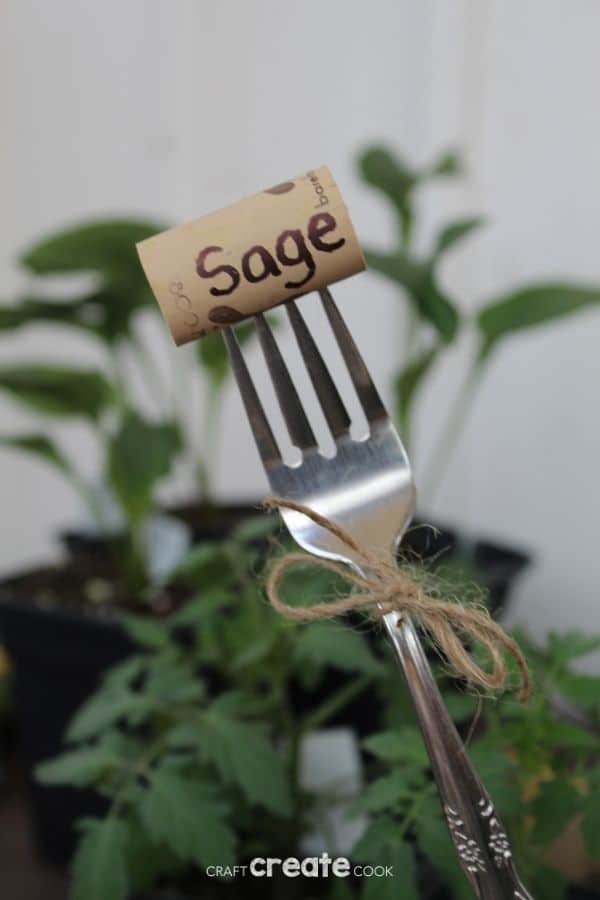
Easy Wine Cork Garden Markers
Are you looking for a way to use up leftover wine corks? See how to turn them into cute garden markers that will last all season. They make an excellent base for a garden marker. Easy to write on and perfect for adding to a garden, they are a fun way to use up that trash and turn it into treasure.
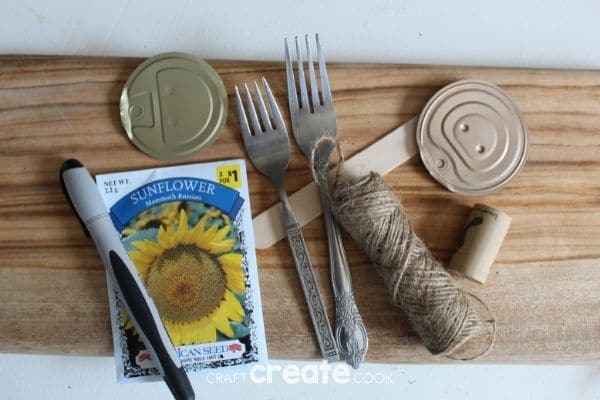
Supplies needed:
How to Make a Cork Garden Marker
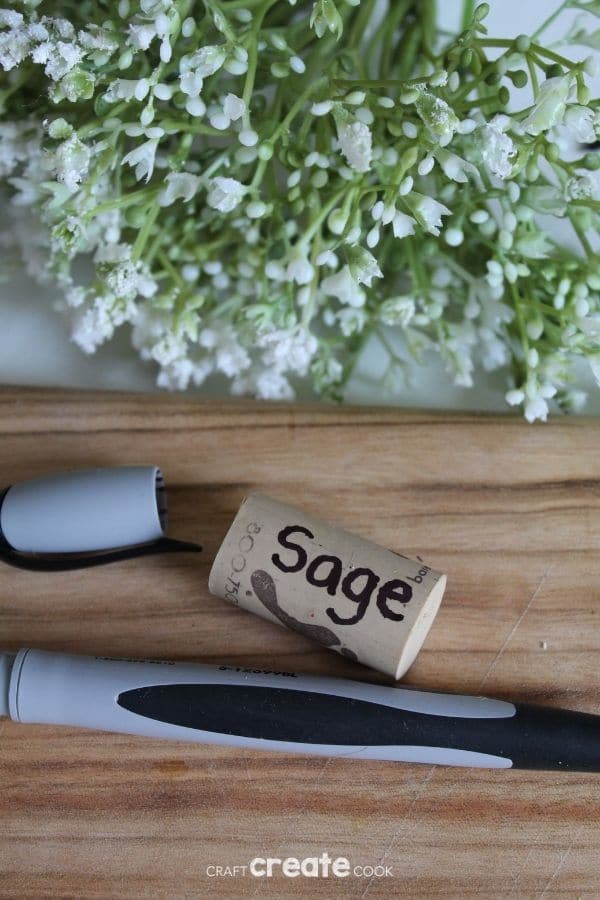
Using your permanent marker, write the name of your plant you want to mark directly on the wine cork, longways. Allow it to dry. You do not need to apply a clear sealant, but you can if you wish to help protect the cork further.
Insert the fork into the underneath of the cork. DO NOT hold the fork upright and try to press the cork down. If you slip the fork can come up towards your face. Instead, place the cork down on a table and press the fork down into it until secure.
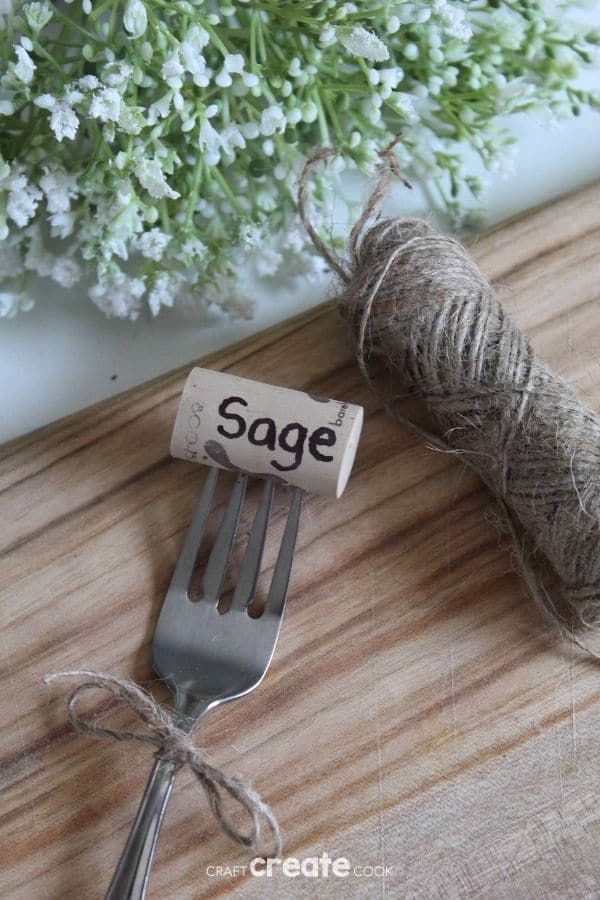
If you are having a hard time getting the fork into the cork, you can use a nail to make some holes, then try adding the fork.
Turn the fork upright and tie a piece of twine around it for extra embellishment.
Now all you need to do is press the fork into the ground and let it do its job of marking the plant!
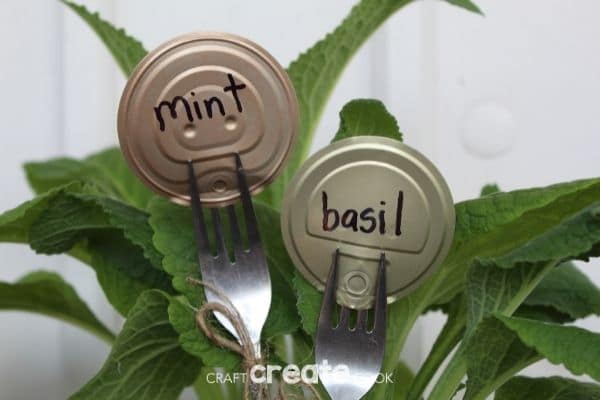
Tin Can Lid Garden Markers
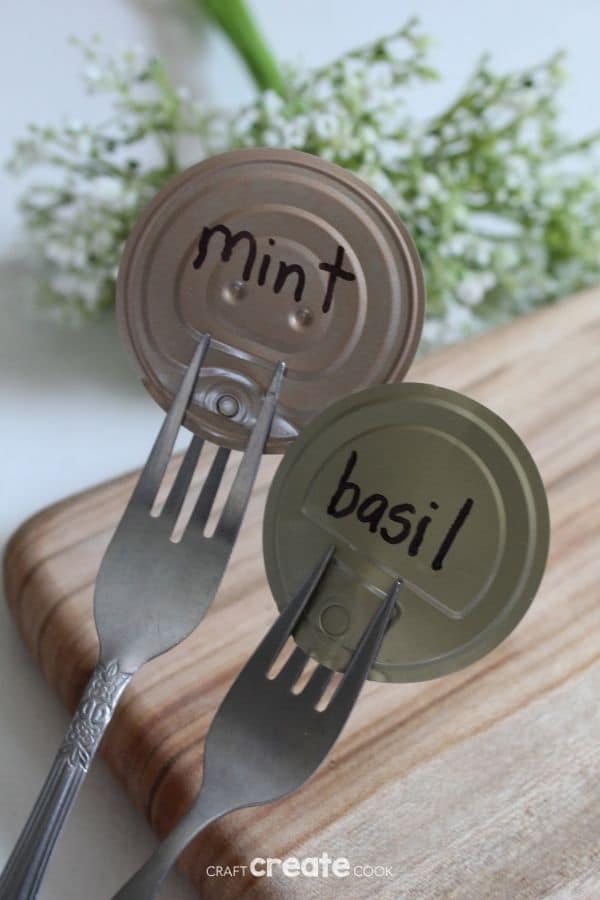
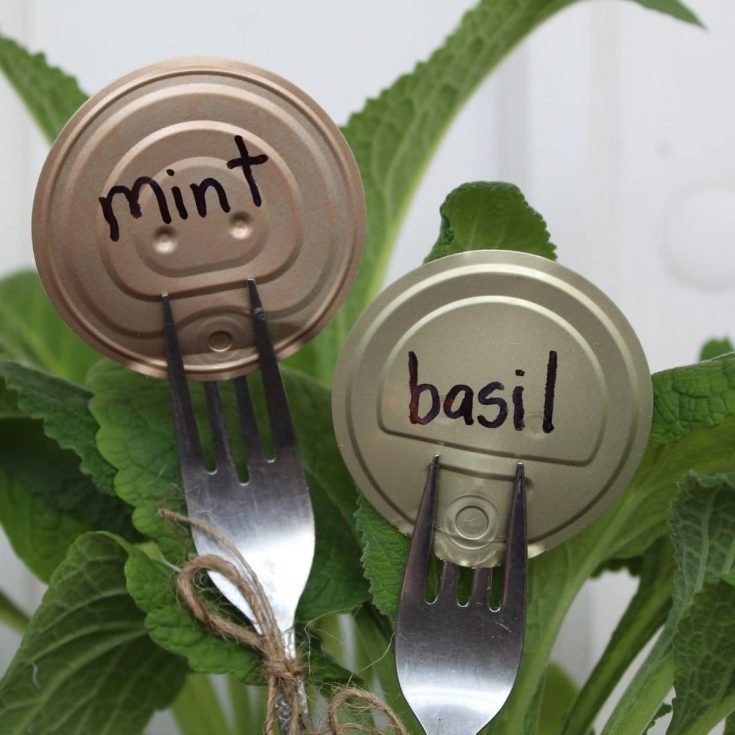
These garden markers can be made from leftover tin can lids. Before you toss some into the trash, save them for this simple DIY! Make sure, however, that you use a bit of sandpaper around the edges of the lids to make sure all sharp edges are gone. These can cut your hands easily, so be super careful.
Supplies Needed
- Tin can lids (sanded to remove sharp edges)
- Fork
- Twine
- Permanent marker
How to Make Tin Can Lid Garden Markers
Write the name of the plant on the tin can lid using your permanent marker. Allow it to dry.
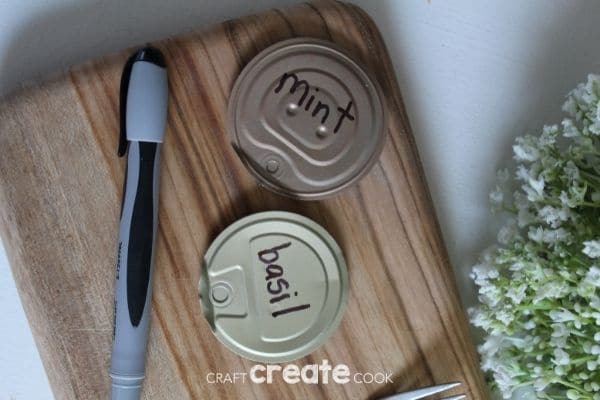
Carefully bend the prongs of the fork so they can hold the tin can lid. It is easiest to bend forward the first and last prong forward, and nestle the lid between them.
Once the lid is in place on the fork, use some twine around the fork for extra decor.
Now all you need to do is place the tin can garden marker in your garden.
Easy Craft Stick Garden Markers
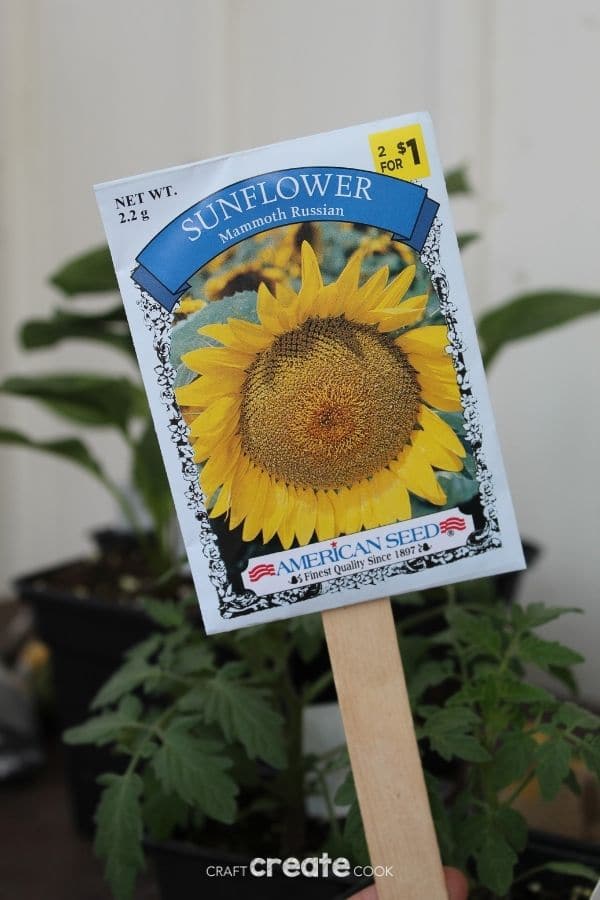
Nothing makes quicker or easier garden markers than craft sticks. Here is how to use wood craft sticks to make some simple markers. These won't stand up to weather conditions like others, so make sure you keep these for indoor or greenhouse use only.
Supplies Needed
- Empty seed packets
- Large wooden craft sticks
- Hot glue
- Hot glue gun
How to Make Craft Stick Garden Markers
For these garden markers, all you need to do is apply a generous amount of glue to the back of your used seed packet.
Press the wood stick in place and hold it to the glue until dry. You can add extra embellishment such as twine if you wish.
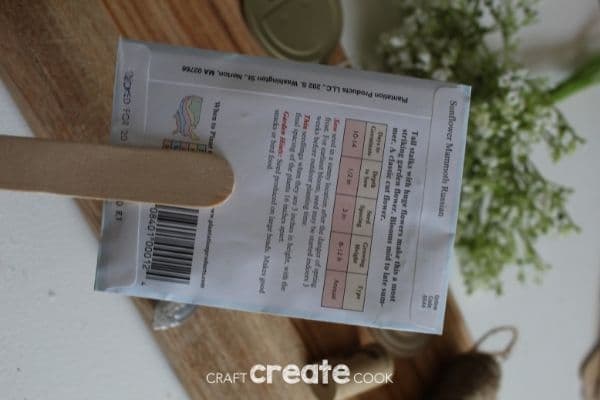
Wax coated seed packets will fare well outdoors. Paper packets may not last long. To help them out, simply slide a plastic baggie over the seed packet before placing it outdoors.
Are you ready to give these easy DIY garden markers a try? See how easy it can be to turn everyday items into practical garden accessories.
More Garden Tips
- Cute DIY Painted Wooden Garden Markers
- How to Use Eggshells to Plant Seedlings
- Upcycled Flower Pot Butterfly Feeder
3 Easy Garden Marker Ideas
Choose one of these 3 fun upcycled and DIY garden marker ideas to add to your garden this year!
Materials
For Wine Cork Marker
- Wine corks
- Forks
- Twine
- Permanent Marker
For Tin Can Lid Markers
- Tin can lids (sanded to remove sharp edges)
- Forks
- Twine
- Permanent marker
For Craft Stick Garden Makers
- Large craft sticks
- Seed packets
- Twine
- Hot glue gun
- Hot glue
Instructions
How to Make a Cork Garden Marker
- Using your permanent marker, write the name of your plant you want to mark directly on the wine cork, longways. Allow it to dry. You do not need to apply a clear sealant, but you can if you wish to help protect the cork further.
- Insert the fork into the underneath of the cork. DO NOT hold the fork upright and try to press the cork down. If you slip the fork can come up towards your face. Instead, place the cork down on a table and press the fork down into it until secure.
- If you are having a hard time getting the fork into the cork, you can use a nail to make some holes, then try adding the fork.
- Turn the fork upright and tie a piece of twine around it for extra embellishment.
How to Make Tin Can Lid Garden Markers
- Write the name of the plant on the tin can lid using your permanent marker. Allow it to dry.
- Carefully bend the prongs of the fork so they can hold the tin can lid. It is easiest to bend forward the first and last prong forward, and nestle the lid between them.
- Once the lid is in place on the fork, use some twine around the fork for extra decor.
How to Make Craft Stick Garden Markers
- For these garden markers, all you need to do is apply a generous amount of glue to the back of your used seed packet.
- Press the wood stick in place and hold it to the glue until dry. You can add extra embellishment such as twine if you wish.
Notes
To weatherproof any of these you can spray with clear sealant before placing outside in the elements.
